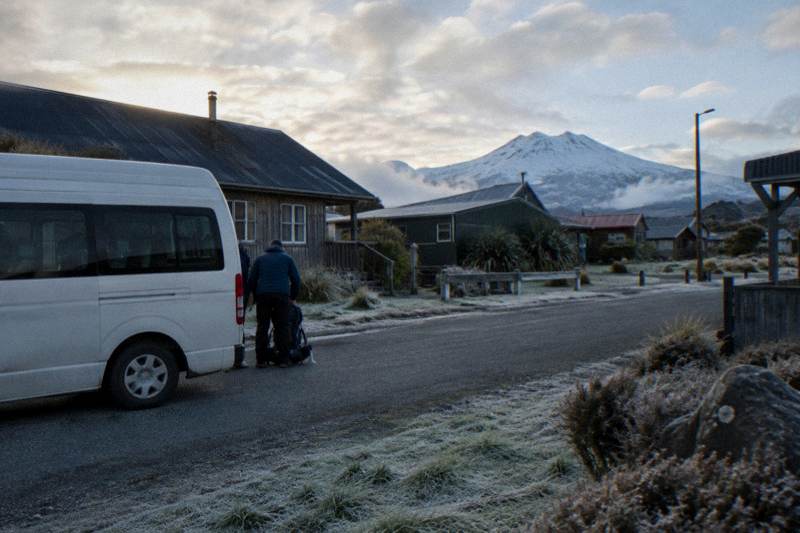
Central Crater Hike: The Flat Stretch After The Emerald Lakes
The Central Crater is the broad, flat basin that follows the Emerald Lakes on the Tongariro Alpine Crossing, a short breather after the steep scorie drop from Red Crater. This guide covers what the section involves, how to pace it, and how to plan shuttles and guides around it.
Short answer
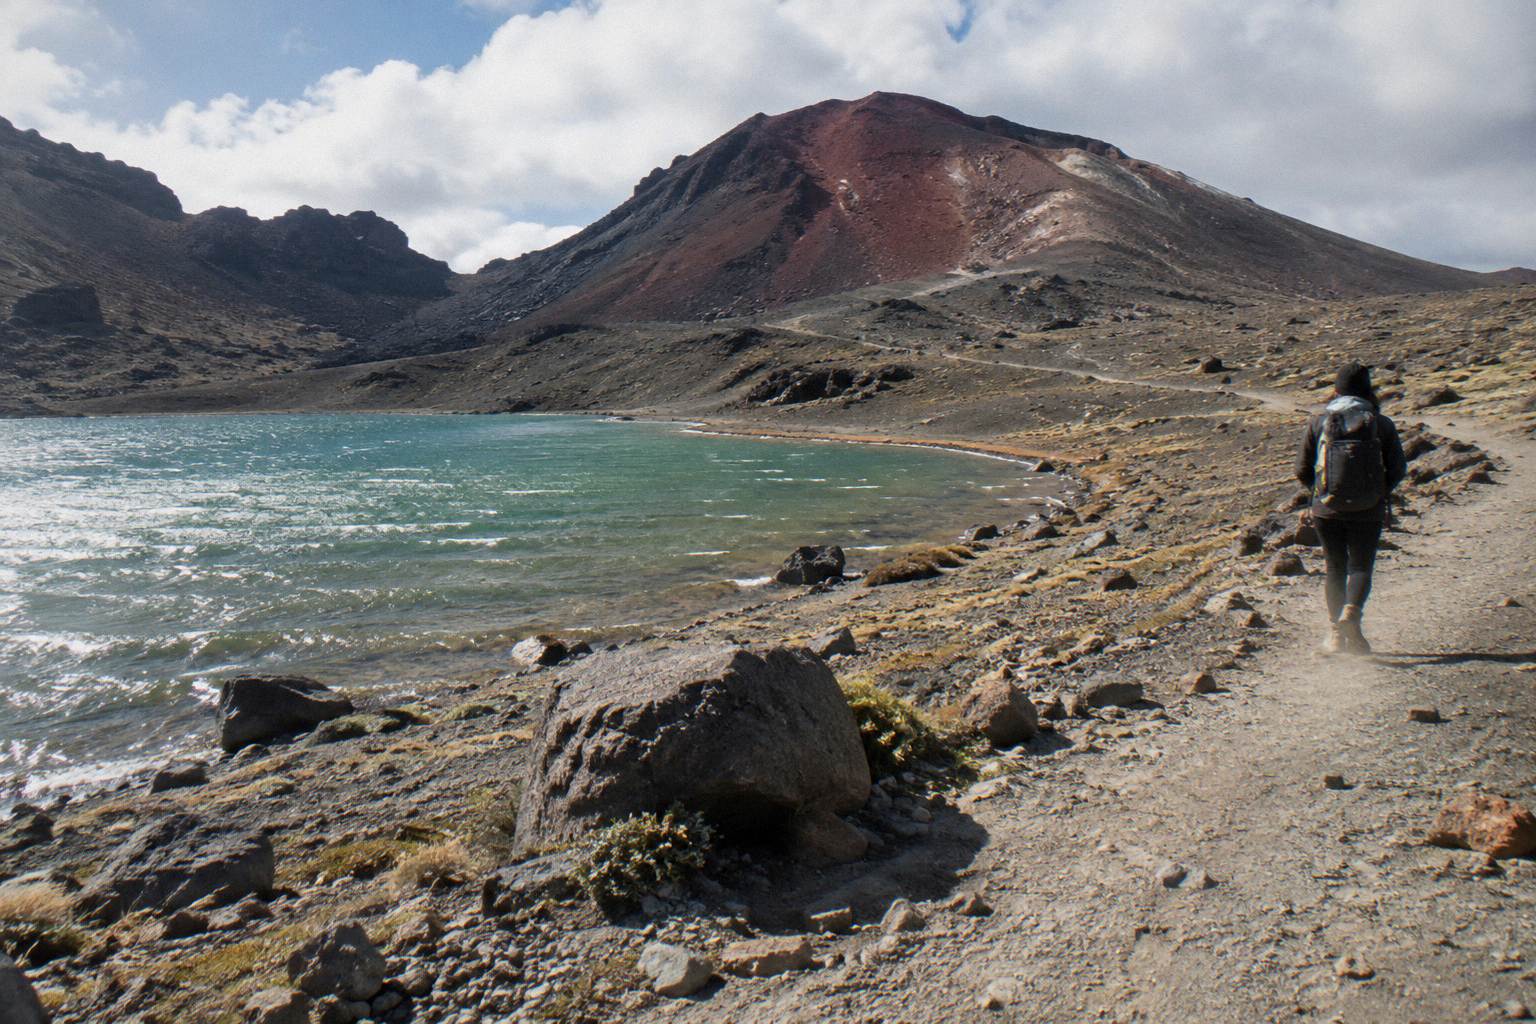
The Central Crater is a flat volcanic basin on the Tongariro Alpine Crossing, a short, flat stretch that most walkers cross quickly after the steep descent from Red Crater to the Emerald Lakes. DOC gives only the whole-track time of 7 to 8 hours in summer, on a track of 20.2 km one way with 1196 m of elevation change.
| Quick Fact | Detail |
|---|---|
| Track | Tongariro Alpine Crossing, one way |
| Full distance | 20.2 km one way (DOC) |
| Elevation change | +/- 1196 m (DOC) |
| Highest point | Red Crater, 1886 m (DOC) |
| Walking time, full track | 7 to 8 hr Nov to Apr, 9 hr May to Oct (DOC) |
| Fitness grade | High (DOC) |
| Winter grade | Expert route May to Oct, alpine skills essential |
| Cultural note | Visitors are asked not to touch or enter any of the alpine lakes |
Where Is The Central Crater On The Tongariro Crossing?
The Central Crater sits beyond the Emerald Lakes on the Tongariro Alpine Crossing, a broad volcanic basin the track crosses on its way toward Blue Lake and the Ketetahi side of the mountain. You reach it after the South Crater, the Red Crater rim and the steep scree descent DOC describes as leading to the vivid Nga Rotopounamu, the Emerald Lakes, and you leave it at the climb to Blue Lake. It is the highest walking terrain of the day that is genuinely flat. Understanding its position on the route is what turns the Crossing from a blur of climbing into a sequence you can pace, and the route and elevation guide to the Emerald Lakes breaks the whole profile into stages if you want the numbers for every leg.
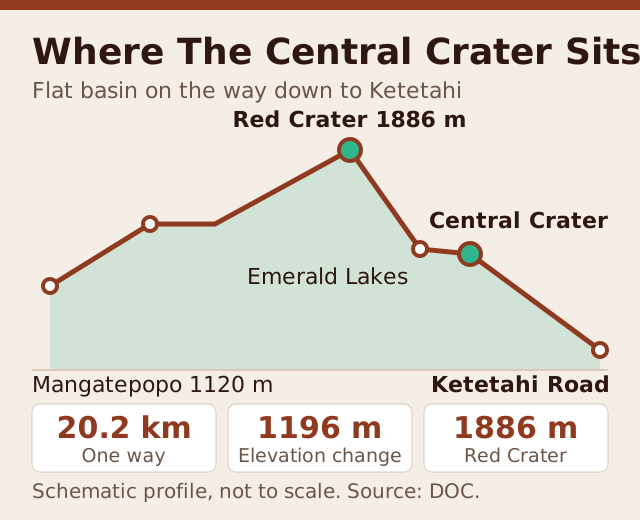
The route runs one way, Mangatepopo to Ketetahi Road. The walk starts at Mangatepopo at about 1120 m, climbs through the South Crater, gains the Red Crater ridge at the track's highest point of 1886 m, and then plunges down the scree to the Emerald Lakes below. From the lakes the track crosses the Central Crater floor, climbs past Blue Lake, crosses the Ketetahi headwaters, and descends to finish near Ketetahi Road at about 760 m. The Central Crater is therefore the hinge of the day: everything before it is ascent or undulation, and everything after it is a long, knee-testing descent.
Geologically it is a genuine crater, a shallow basin formed in the volcanic heart of Tongariro, filled with fine gravel and scree washed down from the surrounding ridges. Ngauruhoe stands beside the track as scenery on the earlier sections, and from the Central Crater floor the view opens north across the lakes basin toward the Ketetahi flank. In clear conditions it is one of the widest panoramas on the whole Crossing, though no operator or writer can promise clear conditions: views are conditions allowing, always.
The cultural layer matters here too. The mountains are sacred to Ngati Hikairo ki Tongariro of Ngati Tuwharetoa, and the park is a dual World Heritage area, the oldest national park in the country at 1894. Kaumatua Te Ngaehe Wanikau asks visitors to respect the maunga tapu by not touching or entering any of the waterways including the alpine lakes, a request that covers the Emerald Lakes you will see below the Central Crater. The swimming and tapu guide covers that request in full.
What The Central Crater Section Actually Looks And Feels Like
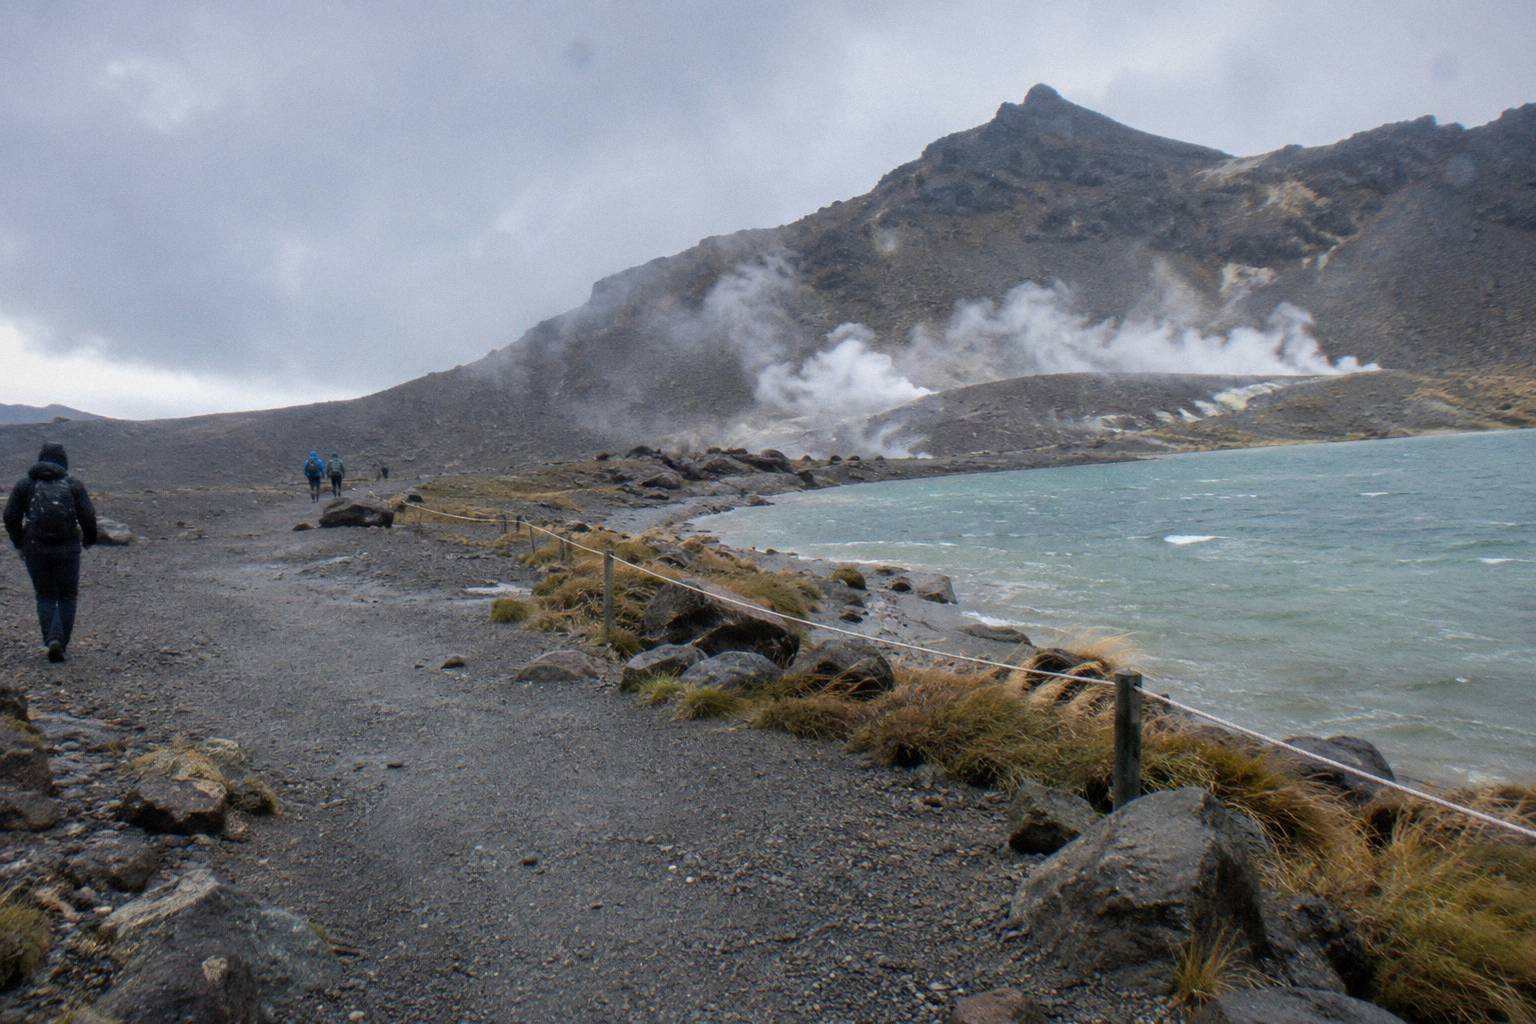
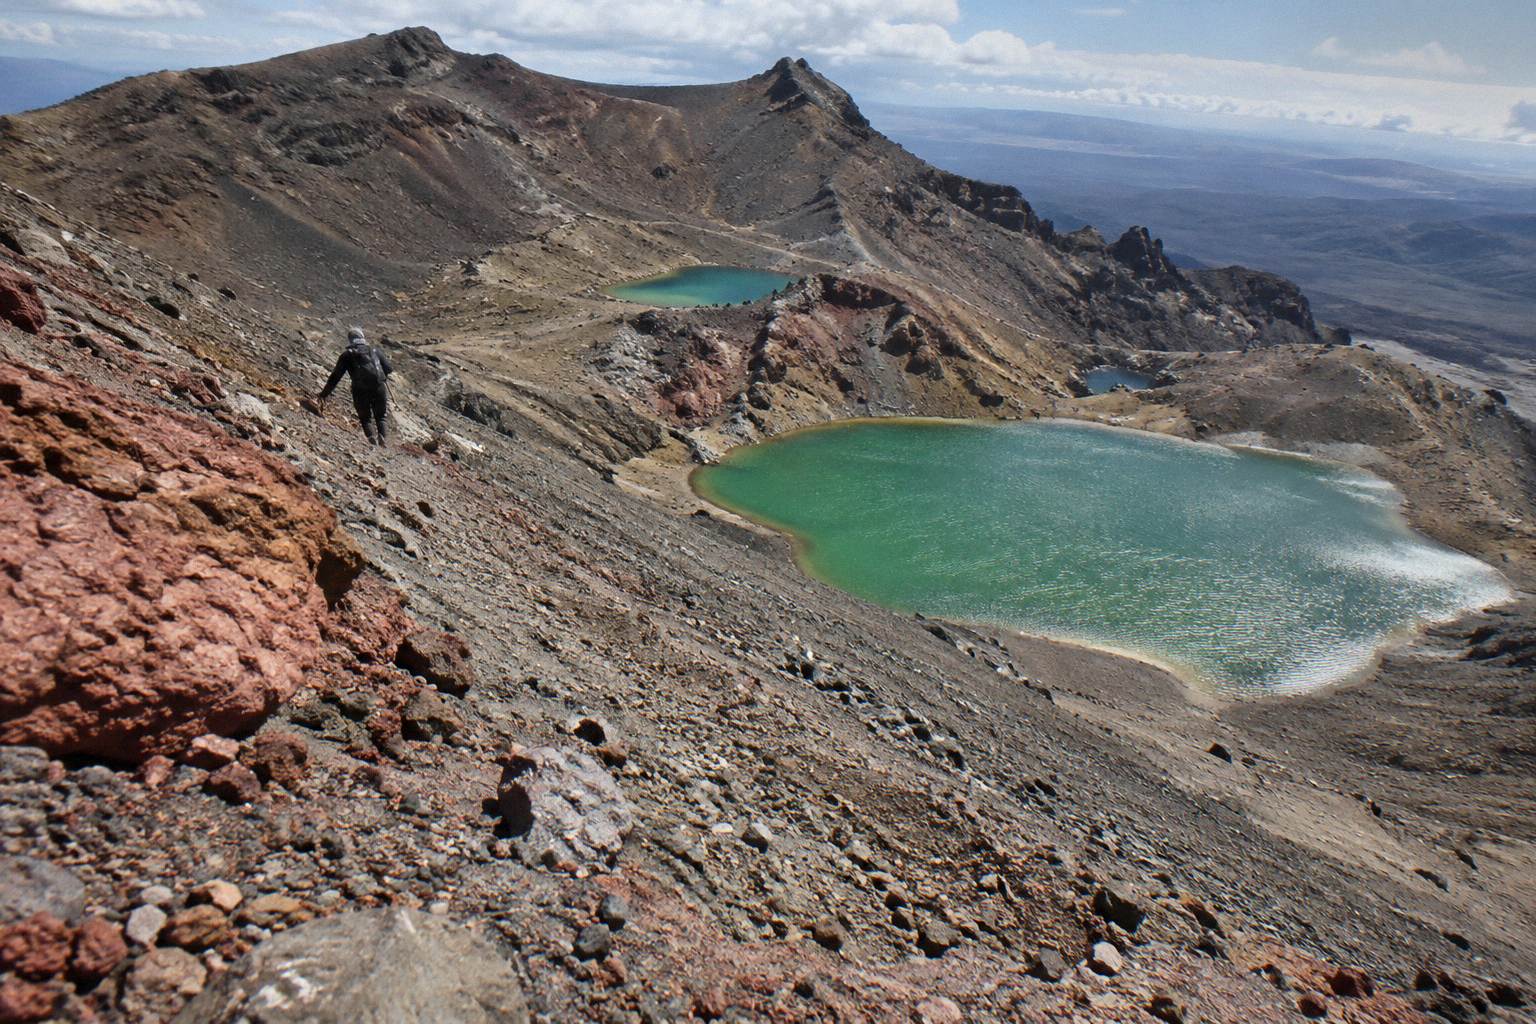
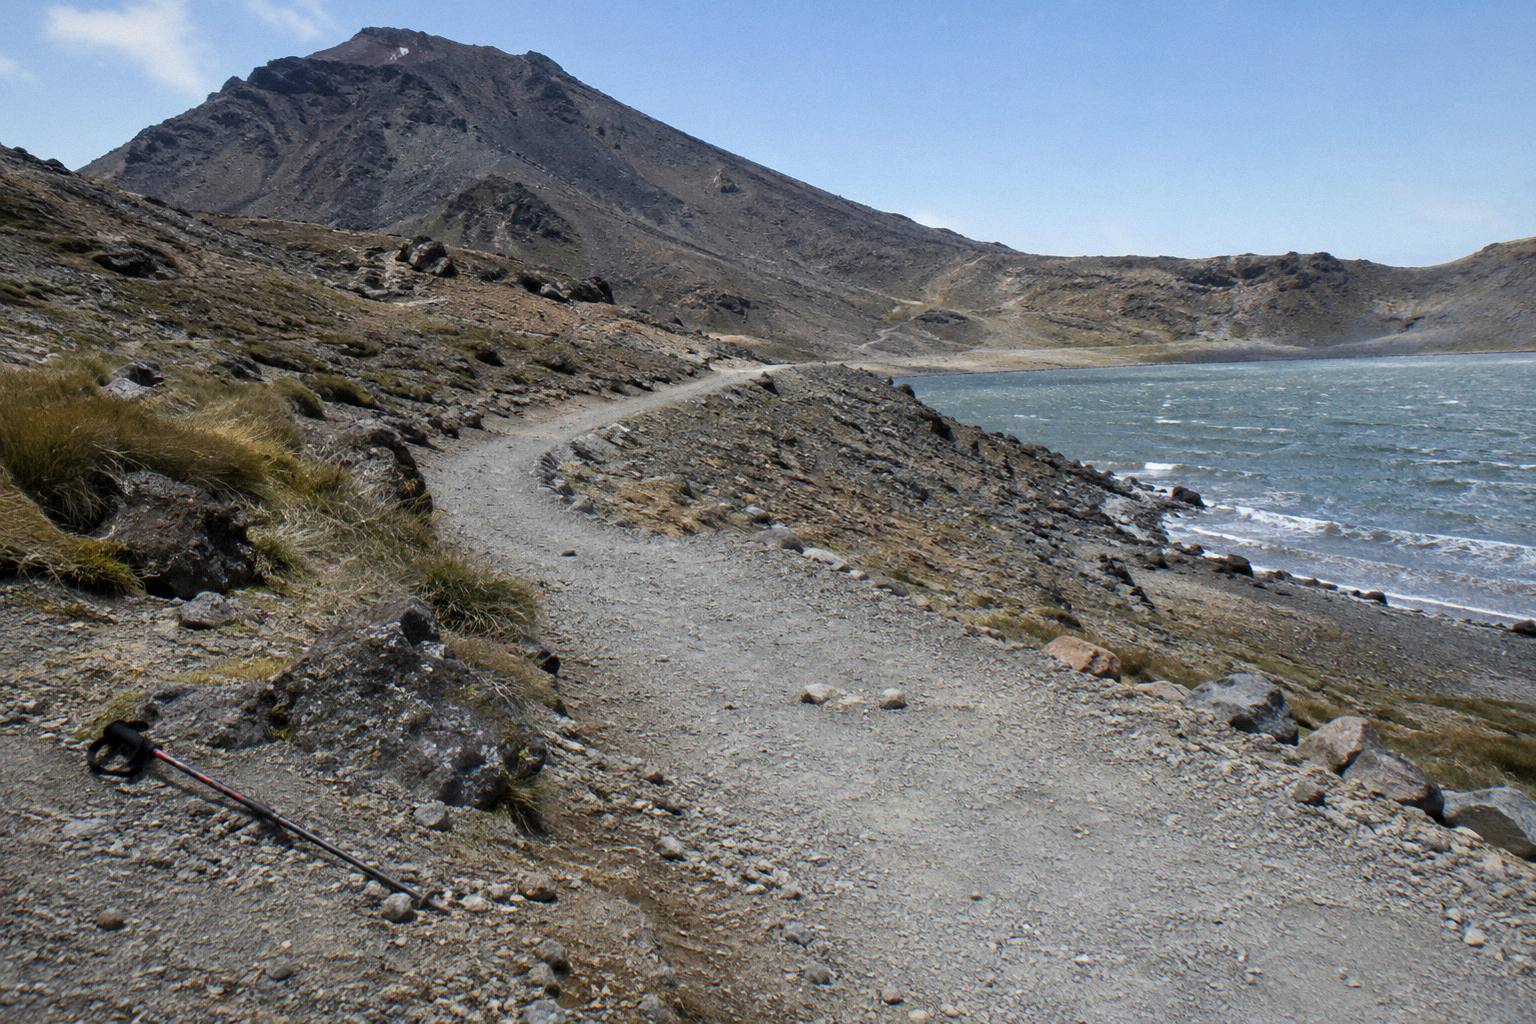
In practice the Central Crater is a wide, grey, almost lunar basin of fine gravel and stone, crossed by a clear single track that most walkers cross quickly at an easy pace. There is no scrambling, no exposure and no route-finding difficulty in summer: the path is broad, worn and visible end to end. The challenge of the section is not technical at all, it is thermal and meteorological, because the open floor offers no shelter from wind, sun or cold, and weather on the Crossing changes fast.
After the effort of the ridge climb and the scree descent, the crater floor is where most groups visibly relax. The gradient is gentle, the surface is forgiving underfoot compared with the rocky stairs below Red Crater, and the walking becomes almost meditative. That calm makes it a natural place to regroup, guided or not.
Three things define the experience. First, scale: the basin is broad enough that walkers spread out into a long line, and photographs from the floor show tiny figures against a vast gravel plain, which is why the photographing the Emerald Lakes guide recommends shooting your crater images on the way out, not the way up, when the light on the lakes basin is usually better. Second, texture: the floor is loose in patches, especially at the entry and exit gullies, so poles help. Third, wind: the crater funnels breeze between the ridges, and on a strong day it can be the coldest flat ground of the whole route even in summer, which the what to wear guide addresses with layering advice.
Winter transforms it completely. From May to October DOC grades the Crossing as an Expert route on which alpine skills are essential, with snow, ice, avalanche risk and sub-zero temperatures, and DOC's own advice is that it is best to go with a guide. Under snow the crater floor reads as a white bowl, the track line can be buried, and the gullies at either end become the serious obstacles. Crampons and ice axes are supplied on the three Adrift Tongariro guided tours for winter conditions if required, alongside a clothing and footwear allowance; no shuttle carries or supplies any gear, so winter self-guided walkers must arrive fully equipped themselves.
If you are weighing a guide against going alone for this middle section, the full comparison sits in the is a guide worth it guide, but the short version is that the crater itself rarely decides the question: the Red Crater ridge above it and the scree below it do.
How Long Does The Central Crater Stretch Take To Walk?
The Central Crater floor is a short, flat stretch that most walkers cross quickly, with a pause at the far side before the Blue Lake climb. The full track is 20.2 km one way and DOC's walking time for the whole Crossing is 7 to 8 hours from November to April and 9 hours from May to October. The crater is a small slice of the day by time but a significant one by psychology, because it is where tired legs recover after the hardest descent.
The timing that matters is not the crater crossing itself but everything around it. DOC's bands assume steady movement with short breaks, and the climb to the Red Crater rim earlier is where most of the day's effort is spent, so walkers who arrive at the crater floor late and rushed tend to skip the pause and start the long descent tired, which is when stumbles happen. A better plan is to treat the crater as a scheduled stop: eat something, add or shed a layer for the wind, and check the sky before committing to the descent, because the ridge ahead offers even less shelter than the floor.
Two timing factors sit outside your legs. Daylight in winter runs 9 to 11 hours by DOC's figures, which compresses the whole day, and an early start is standard practice year round because afternoon weather on the ridge deteriorates more often than morning weather. Group tours move at the pace of the group: the Adrift Tongariro full-day guided Crossing, rated 4.7 across 278 reviews, is a full day out including transfers, not a full day of walking. The Adrift Tongariro private guided Crossing, rated 4.5 across 30 reviews, books 7 to 9 hours and lets a private party set its own crater pause.
| Stage of the day | Terrain | What to expect |
|---|---|---|
| Mangatepopo to South Crater | Gradual climb, boardwalk and track | Warm-up, about 1120 m to basin floor |
| South Crater to Red Crater rim | Steep climb, rocky | Hardest sustained effort, highest point 1886 m |
| Central Crater crossing | Flat gravel basin, wide track | Easy walking, no shelter |
| Scree descent to Emerald Lakes | Steep loose scree | Slow, deliberate stepping, poles help |
| Emerald Lakes to Ketetahi Road | Long gradual descent | Knee-heavy finish, about 760 m at the end |
Pacing across the whole route, with per-stage walking estimates, is covered in depth in the walk time to the Emerald Lakes guide, and the fitness question in fitness for the climb to the Emerald Lakes. The mistake to avoid is planning the crater by distance: it is short in kilometres and long in exposure, so plan it by conditions instead.
Planning the guided version? The Adrift Tongariro premium guided hike covers the full Crossing with the crater pause built in, departs National Park Village at 53 Carroll Street, and runs from NZ$450 per person with free cancellation up to 14 days before. Hotel pickup is not included, and lunch is not either, so bring your own. Check availability, or read the booking a guided hike guide first.
Red Crater To The Emerald Lakes: The Descent Sequence
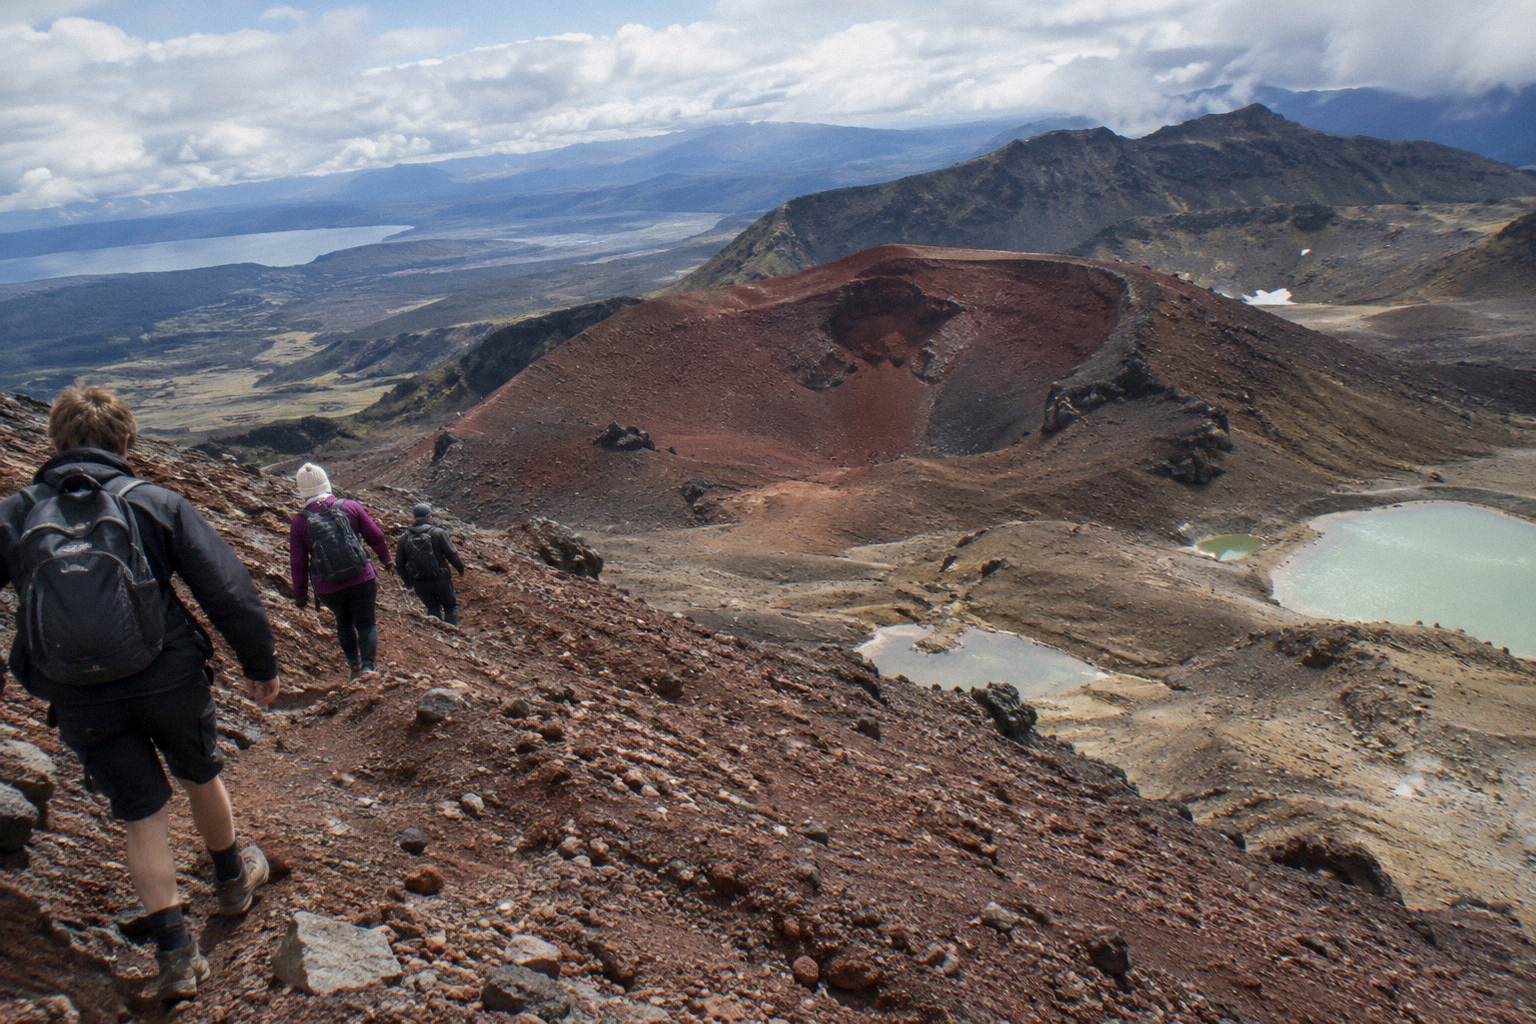
The sequence runs ridge, scree, lakes, crater: you crest the Red Crater rim at 1886 m, then drop a steep scorie slope that DOC's own track description calls a steep scree descent to the vivid Nga Rotopounamu, the Emerald Lakes, before the track crosses the Central Crater floor. The scree is the single most technical few hundred metres of the whole Crossing in summer, and in winter it can hold ice and snow that demands crampons and competence. The crater is the easy ground after it.
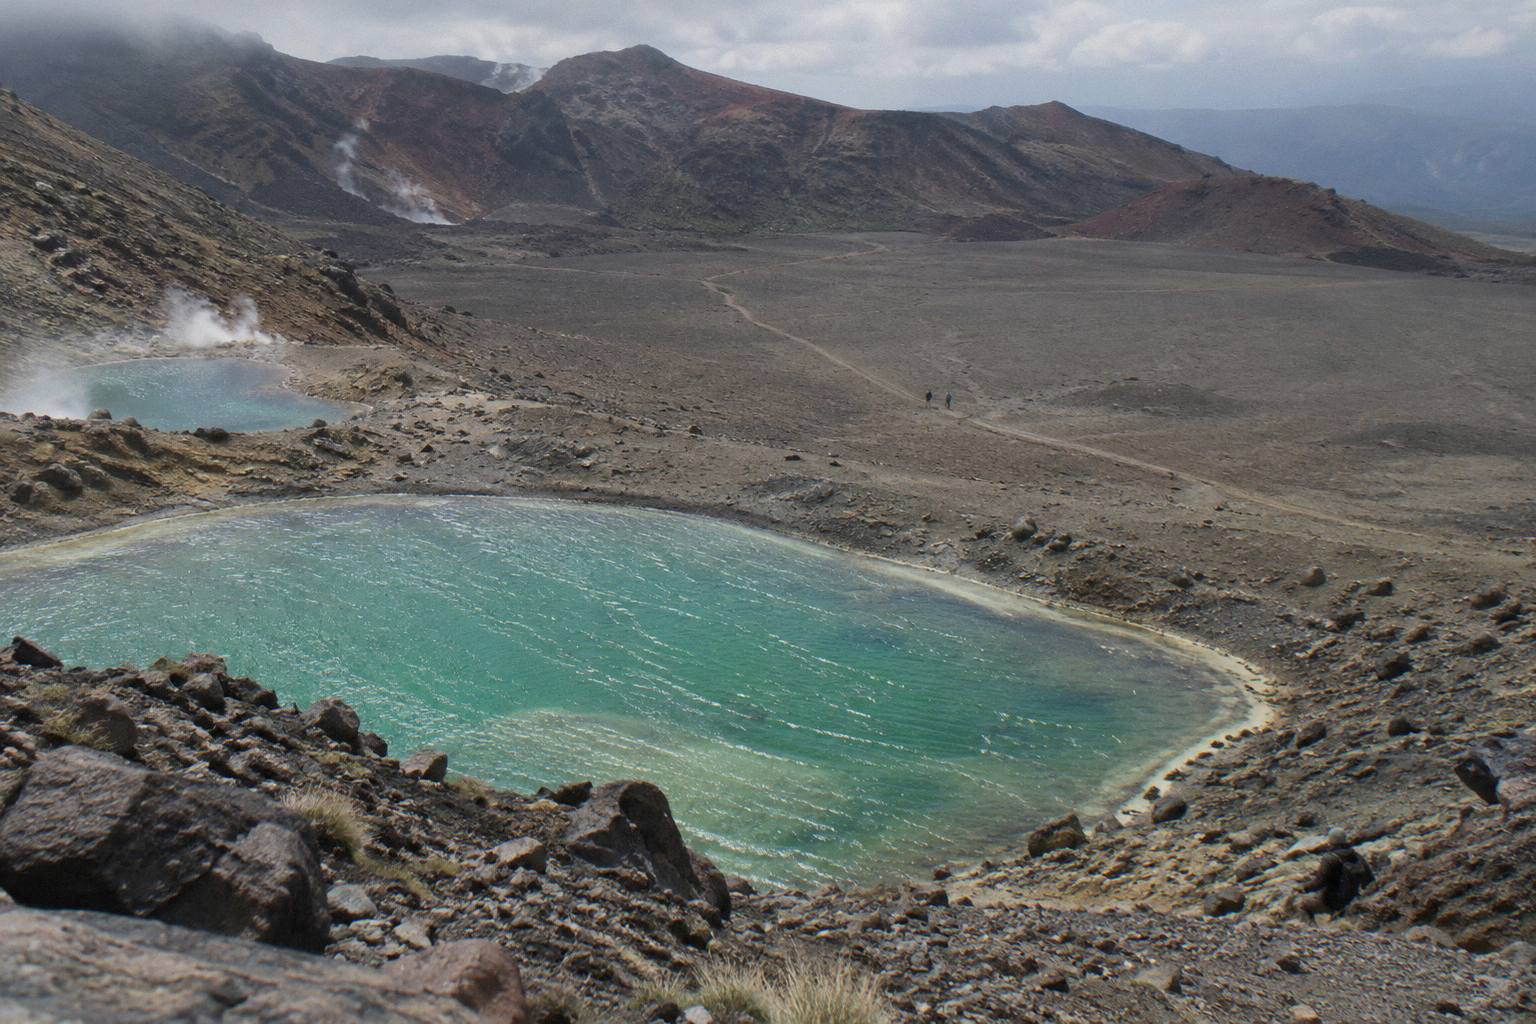
Walk the sequence with your eyes as well as your feet. From the rim the Emerald Lakes appear as three small mineral-green pools lined up below the far edge of the crater, and the track line down to them is visible the whole way, which helps nervous walkers more than any description. The colours themselves, caused by minerals leaching from the volcanic ground, are covered in the Emerald Lakes colours guide. Fumaroles, steam vents, dot the slopes around the lakes basin and the later Te Maari area, a live reminder that the 2012 Te Maari eruptions happened on this flank of the mountain, and volcanic alert levels are checked daily rather than being a fixed fact you can plan around.
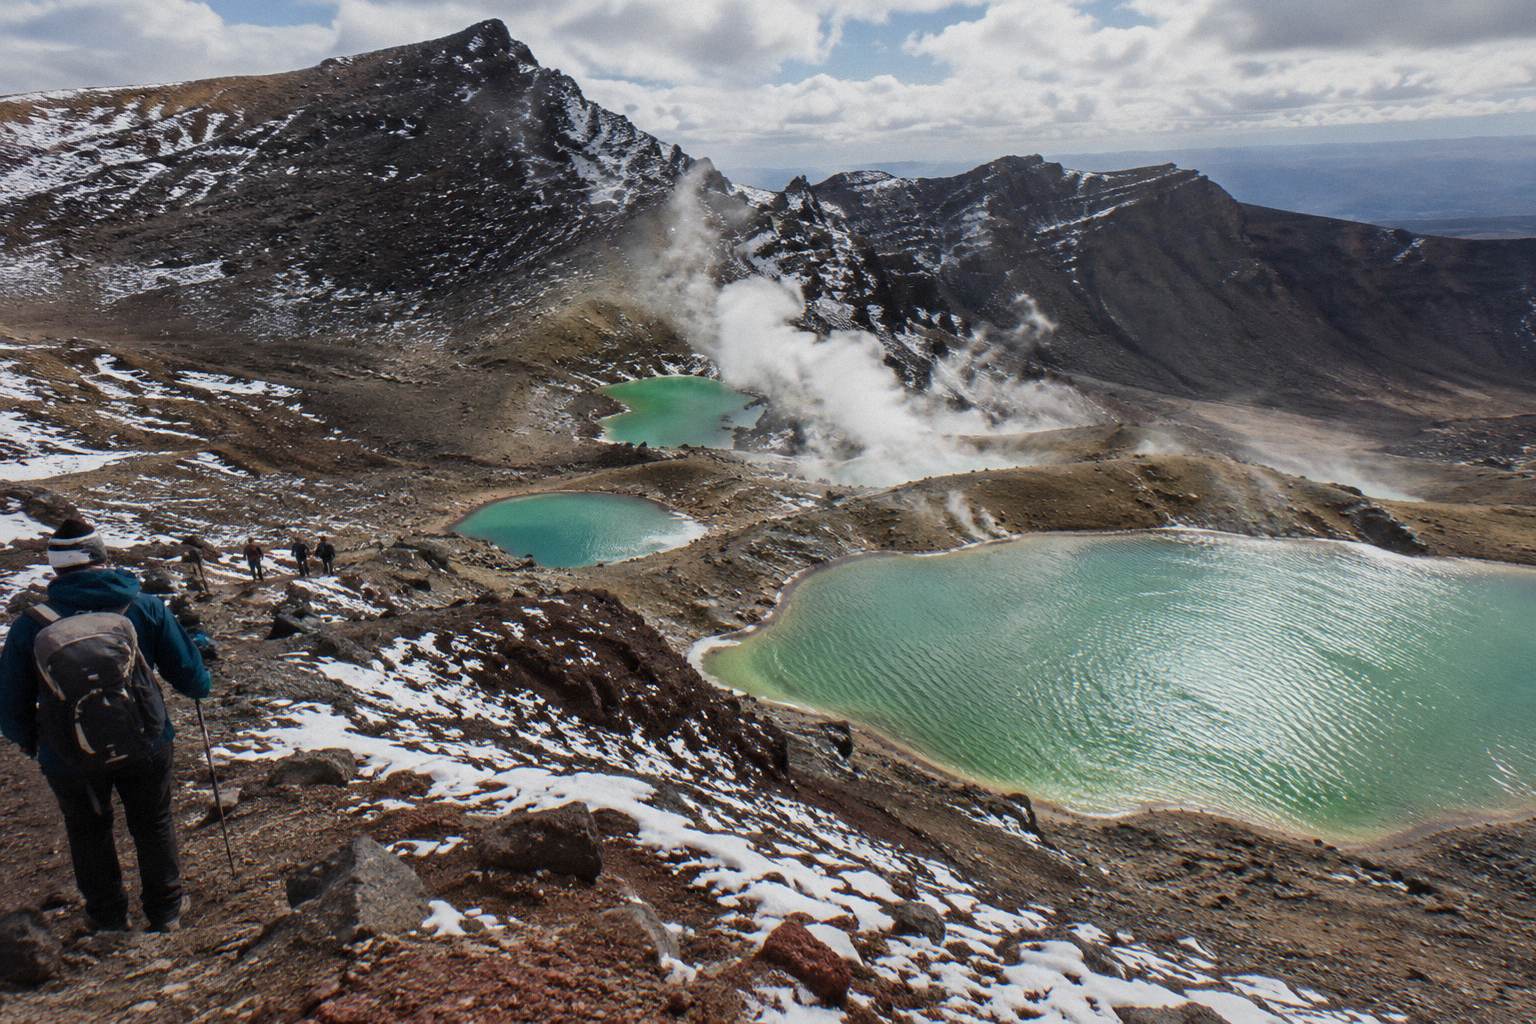
Technique on the scree is simple and worth stating plainly: short steps, weight back, poles out, and let the loose surface slide a little rather than fighting every grain. The Red Crater to Emerald Lakes descent guide gives a full breakdown, and the Red Crater hike page covers the climb that precedes it. At the bottom, the cultural request applies: do not touch or enter the lakes, including paddling, and DOC passes this on at the request of Ngati Hikairo ki Tongariro. The track skirts the lakes and climbs gently to Blue Lake, which carries the same request, before turning north to the long Ketetahi descent.
Guided groups move through this sequence with the guide positioned on the scree, which is where a guide earns its fee for many walkers. All three Adrift Tongariro tours reach the lakes guided: the premium guided hike, the full-day guided Crossing, and the private guided Crossing. Each departs National Park Village; the premium trip also offers pickups from Taupo, Turangi and Whakapapa at a surcharge on private bookings. If weather closes in, DOC names Taranaki Falls and Tama Lakes as alternative walks, and the other hikes page lists what else the park offers when the Crossing is off.
For the full picture on conditions that close the track, see the weather guide for the section above the Emerald Lakes and the official DOC sources: the DOC Tongariro Alpine Crossing page for track status and alerts, and DOC's volcanic risk information for how hazard zones on the mountain are managed.
Shuttles, Parking And Getting The Timing Right
Getting the crater right is mostly about getting the day's logistics right: from Labour weekend in late October until 30 April, parking at the road ends is restricted to a 4 hour maximum and DOC suggests you book a shuttle, which effectively rules out self-driving the full Crossing in the summer season. Shuttle buses generally do not operate in winter, May to late October, while guided trips include transport. The DOC booking system is free and recommended, and you need it for shuttle and guided bookings, so sort the booking before you sort the alarm clock.
The shuttle choice shapes your crater timing, because your pickup at the far end sets your deadline. The round-trip options from National Park Village are the Tongariro Crossing Shuttles round trip from the Park n Ride at 59 Findlay Street, from NZ$75 per person, rated 4.7 across 890 reviews and the most reviewed tour here, and the Dempsey Buses return bus from National Park Village, from NZ$90 per person, rated 4.8 across 72 reviews, with free cancellation up to 24 hours before on both. Dempsey Buses also runs a return shuttle from Ohakune, and Tongariro Expeditions runs a return shuttle from Taupo, plus its Crossing shuttle from Taupo or Turangi, from NZ$75 per person and rated 4.7 across 431 reviews, also with 24 hour free cancellation.
The one-way park-and-ride option works differently: you park at Ketetahi, ride the shuttle to Mangatepopo, and walk the Crossing back to your own car. The Ruapehu Scenic Shuttles Ketetahi park-and-ride is from NZ$68 per person, rated 4.8 across 670 reviews, with free cancellation up to 24 hours before; it is one-way, not a return, and not guided. The Owhango Adventures Ketetahi park-and-ride, rated 4.8 across 333 reviews, and the Tongariro Expeditions Ketetahi park-and-ride, rated 4.3 across 106 reviews, work the same way, also with 24 hour free cancellation. DOC also notes a private car park operates near Ketetahi. Whichever you choose, an early start is the norm, departure frequency and return times vary by operator and day, and shuttles run conditions allowing: operators are bound by DOC rules not to run on hazardous-weather-warning days.
Taupo-based walkers have shuttle options but no Taupo-based guided day trip exists, so guided means joining an Adrift Tongariro departure from National Park Village, with the premium trip's Taupo, Turangi and Whakapapa pickups at a surcharge on private bookings. From Auckland, the honest summary is that it is a long way: overnight products exist, including the Kiwi Road Tours private transfer from Auckland, a transfer rather than a guided hike in which the walk is self-guided, and the ExperienceKart private three-day tour with Huka Falls and Lake Taupo, in which the Crossing is one self-guided leg. DOC's distances from the track put Whakapapa 10.4 km away, National Park 13.5 km, Turangi 36.7 km, Ohakune 48 km and Taupo 86.5 km.
| Transport option | Type | Departure point | Price | Reviews |
|---|---|---|---|---|
| Adrift Tongariro premium guided hike | Guided full Crossing | National Park Village | from NZ$450 pp | 4.6 across 242 |
| Tongariro Crossing Shuttles round trip | Shuttle, return | National Park Village | from NZ$75 pp | 4.7 across 890 |
| Dempsey Buses return bus | Shuttle, return | National Park Village | from NZ$90 pp | 4.8 across 72 |
| Tongariro Expeditions Taupo or Turangi shuttle | Shuttle, transfers | Taupo, Turangi or Ketetahi | from NZ$75 pp | 4.7 across 431 |
| Ruapehu Scenic Shuttles Ketetahi park-and-ride | Shuttle, one-way | Ketetahi car park | from NZ$68 pp | 4.8 across 670 |
Guided Or Self-Guided For The Crater Section?
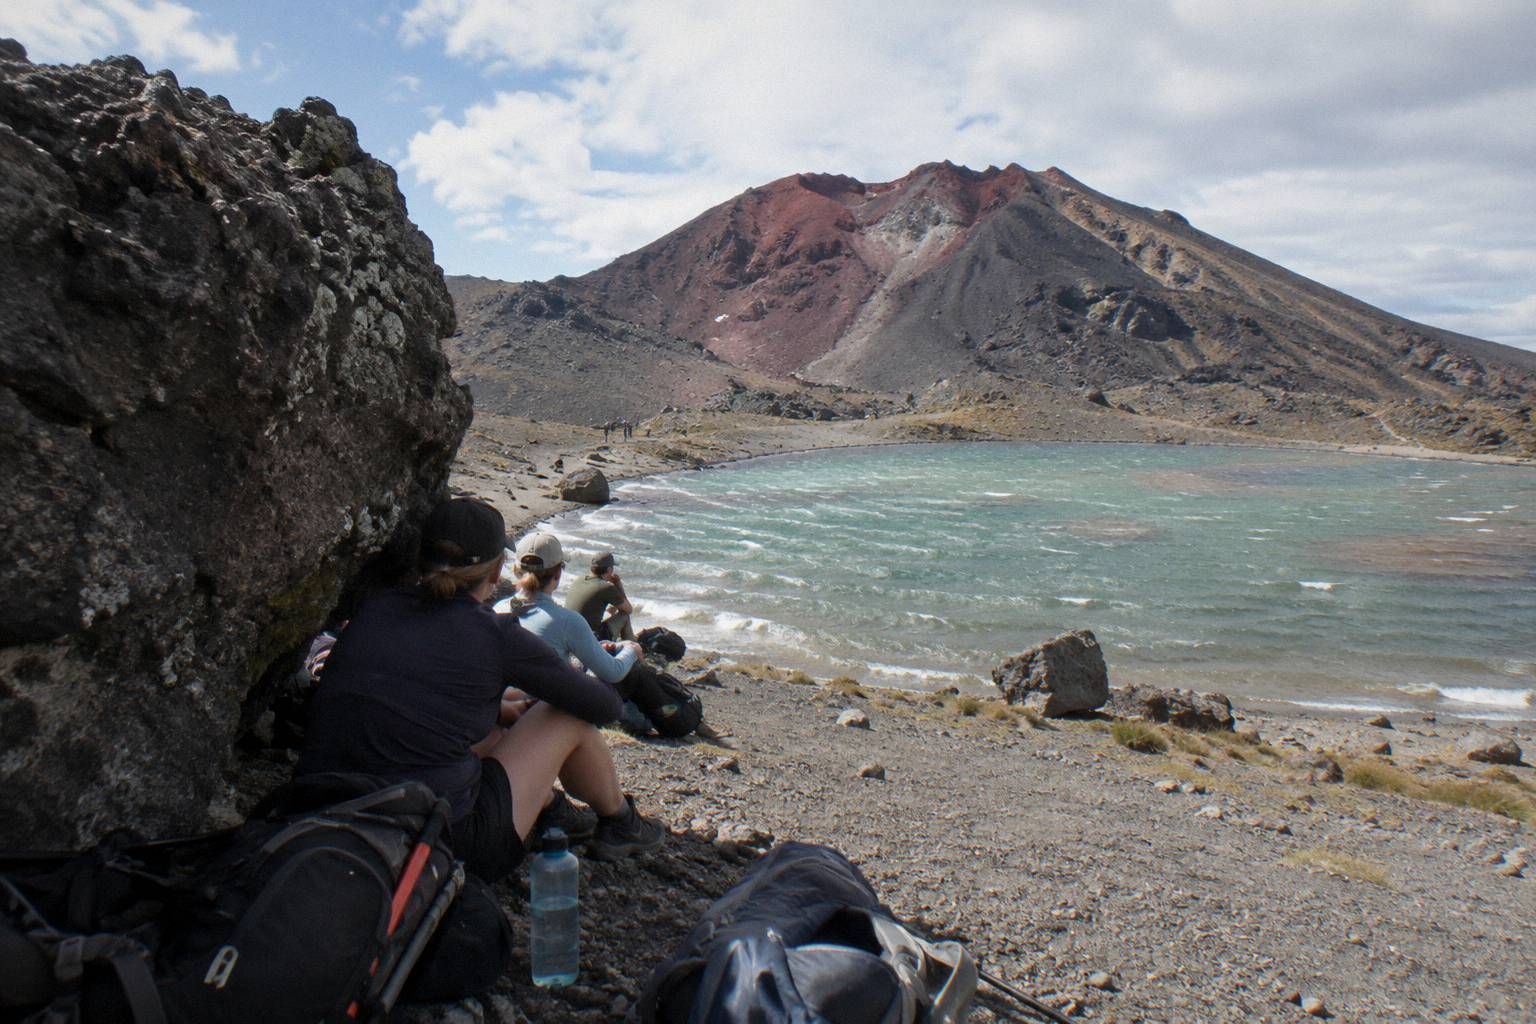
Adrift Tongariro runs the three guided tours that cross the Central Crater, and in summer a confident, fit walker can manage the section self-guided without much difficulty. The case for a guide is strongest in winter, when DOC grades the route Expert and says alpine skills are essential, and for anyone who wants a planned crater pause, gear and local judgment built into the day. Crampons and ice axes are supplied on the Adrift tours for winter conditions if required. No shuttle is guided, ever: a shuttle moves you, a guide moves with you.
The self-guided case is real. The crater floor in summer is a wide, obvious path, DOC's free booking system makes access straightforward, and the round-trip and park-and-ride shuttles listed above handle the road ends. What you give up is judgment on the day: a guide reads the sky from the crater floor and decides whether the scree behind is safe, and DOC's own winter wording is blunt that going with a guide is best from May to October. Guided decisions also cover the weather trigger points, the point where wind on the ridge or cloud on the descent ends the day, which first-time visitors consistently underestimate.
The guided products differ in shape. The Adrift Tongariro premium guided hike, from NZ$450 per person, books 8 to 9 hours, leaves age limits to its booking page, and allows free cancellation up to 14 days before. The Adrift Tongariro full-day guided Crossing, rated 4.7 across 278 reviews, sets a minimum age of 12 and is non-refundable, as is the Adrift Tongariro private guided Crossing, rated 4.5 across 30 reviews, which books 7 to 9 hours for a private party. None includes lunch, so bring your own on any of them. Booking and cancellation terms per product are shown on the booking page, and the private guided hike guide compares the private option in detail.
For walkers coming from Turangi, the Backyard Tours mountain shuttle from Turangi, from NZ$120 per person, covers the road-end leg, with free cancellation up to 24 hours before. From Ohakune, the Dempsey Buses return shuttle from Ohakune offers the same role with the same cancellation window, rated 4.8 across 20 reviews, from NZ$110 per person. These are shuttles, and the walk remains self-guided on them.
Mistakes That Trip People Up On The Central Crater
The recurring mistakes on this section are timing mistakes, not technique mistakes: walkers arrive at the crater floor late and skip the pause, start the descent with cold legs after a long windy crossing, treat the flat basin as a place to make up time, or plan a self-drive day that the 4 hour parking maximum at the road ends makes impossible in season. Each mistake is avoidable with one decision made the day before. Plan the pause, plan the layer, book the shuttle, and the crater becomes the easiest hour of the day.
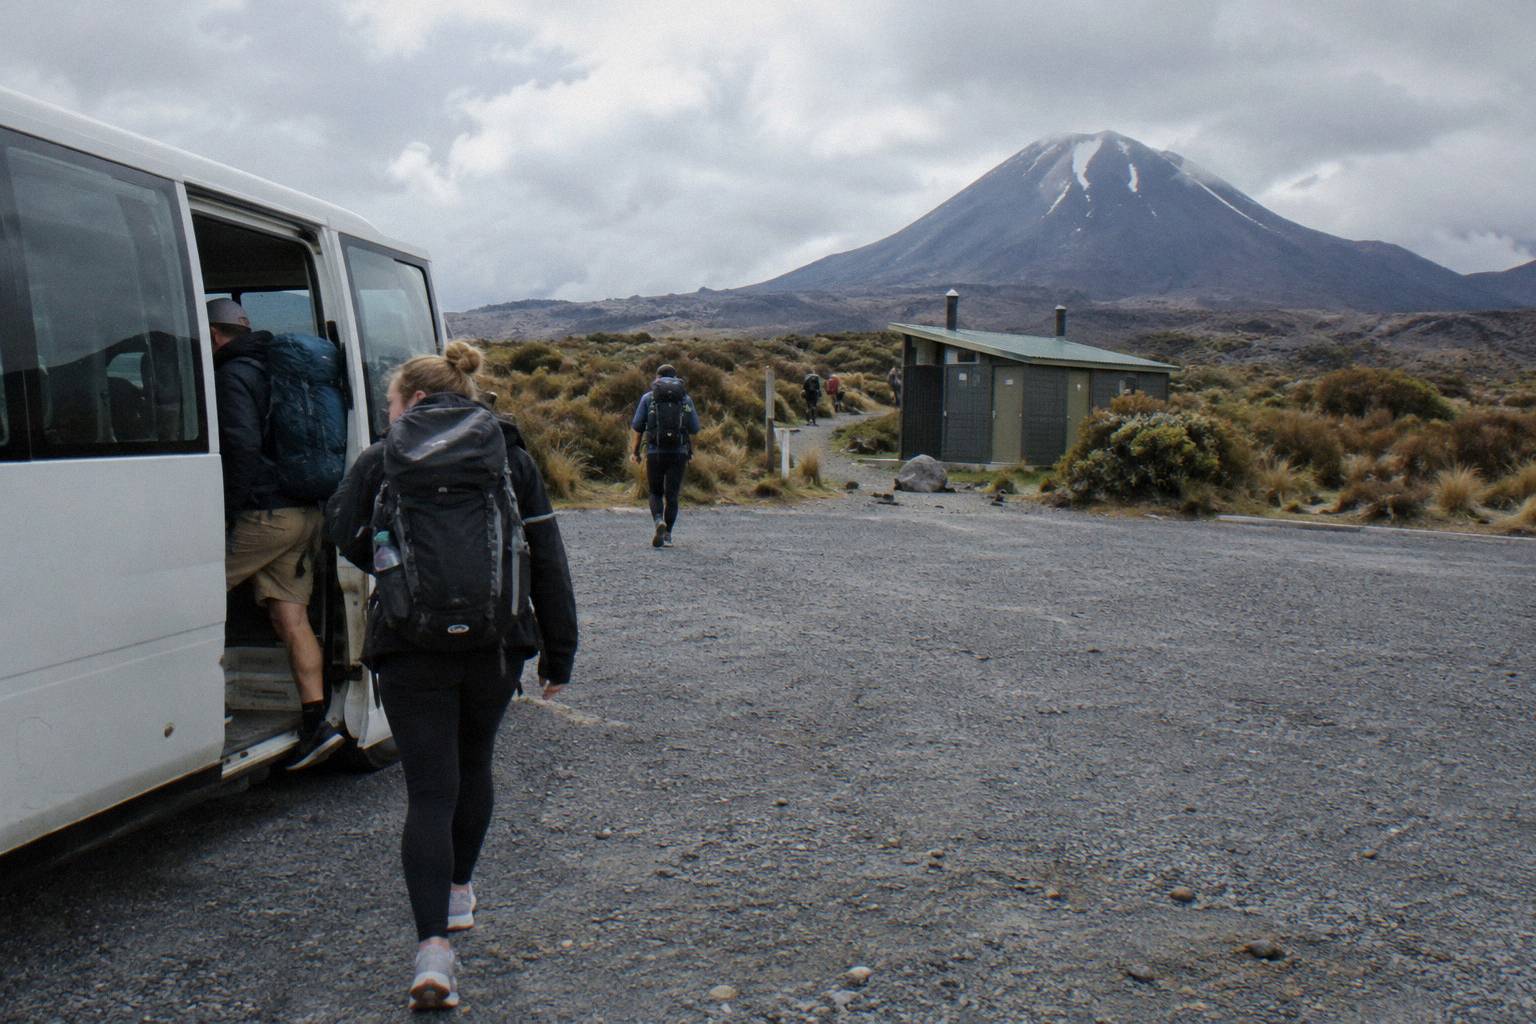
The list, plainly:
- Skipping the regroup because the schedule slipped. The crater pause is where the descent gets decided; the sunrise start guide explains why an early start buys the margin.
- Wearing summit layers on the floor. The basin is windy and the scree is hot work; layer at the pause, not at the rim.
- Expecting water or shelter on the crater. Carry what you need from Mangatepopo.
- Touching or entering the lakes at the bottom. The request from Ngati Hikairo ki Tongariro, relayed by DOC, covers all the alpine waterways.
- Relying on a winter shuttle. Shuttle buses generally do not operate from May to late October; guided trips include transport.
- Assuming the booked tour duration is walking time. Operator day lengths include transfers; walking time is DOC's band of 7 to 8 hours in the summer season.
- Forgetting the DOC booking system. It is free, recommended, and needed for shuttle and guided bookings; the DOC booking system page explains how it works.
| Mistake | Why it happens | The fix |
|---|---|---|
| Skipping the crater pause | Running behind schedule | Start earlier; treat the pause as fixed |
| Cold, stiff legs on the scree | Long windy crossing without a layer change | Layer up or down at the pause |
| Self-driving in summer | Underestimating the 4 hour parking cap | Book a shuttle or park-and-ride |
| Treating tour duration as walking time | Operator day lengths include transfers | Plan on DOC's 7 to 8 hour band |
| Rushing the crater to make up time | Flat ground feels like free speed | It is short; spend it recovering |
Choosing The Right Trip For A Central Crater Day
Match the product to your winter or summer plans: guided means Adrift Tongariro, with the premium guided hike from NZ$450 per person as the featured choice, and shuttle-based self-guided days start from NZ$68 per person on the Ruapehu Scenic Shuttles Ketetahi park-and-ride or NZ$75 on the round-trip options. Every option above runs conditions allowing, and every booking page shows its own cancellation terms.
Common Questions About The Central Crater
Where Is The Central Crater?
Beyond the Emerald Lakes on the Tongariro Alpine Crossing, a flat volcanic basin that follows the lakes, which lie below the track's highest point at 1886 m, and comes before the Blue Lake climb.
How Long Does The Central Crater Take To Cross?
A short, flat stretch that most walkers cross quickly; DOC gives only the whole-track time of 7 to 8 hours in summer.
Is The Central Crater Difficult?
No, the floor itself is wide, flat and obvious in summer. The difficulty sits on either side of it: the Red Crater climb and scree descent before, and the Blue Lake climb after.
Can You Walk The Central Crater In Winter?
DOC grades the whole Crossing an Expert route from May to October, with snow, ice, avalanche risk and sub-zero temperatures, and says alpine skills are essential and going with a guide is best.
Can You Swim In The Emerald Lakes Before The Central Crater?
No. DOC relays a request from Ngati Hikairo ki Tongariro that visitors not touch or enter any of the waterways including the alpine lakes.
Do You Need A Shuttle For The Central Crater Day?
In the summer season, effectively yes: parking at the road ends is capped at 4 hours from Labour weekend to 30 April and DOC suggests booking a shuttle. Shuttles generally do not run in winter, while guided trips include transport.