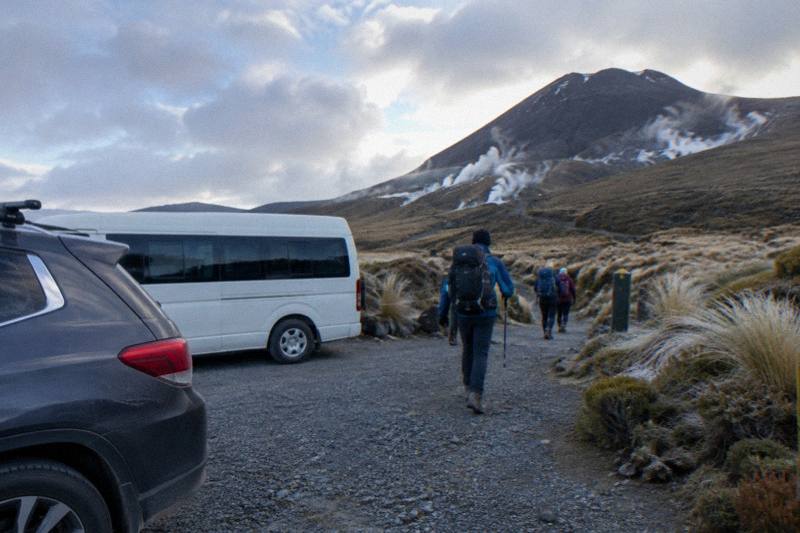
Tongariro Crossing Map: Where The Emerald Lakes Fall On The Track
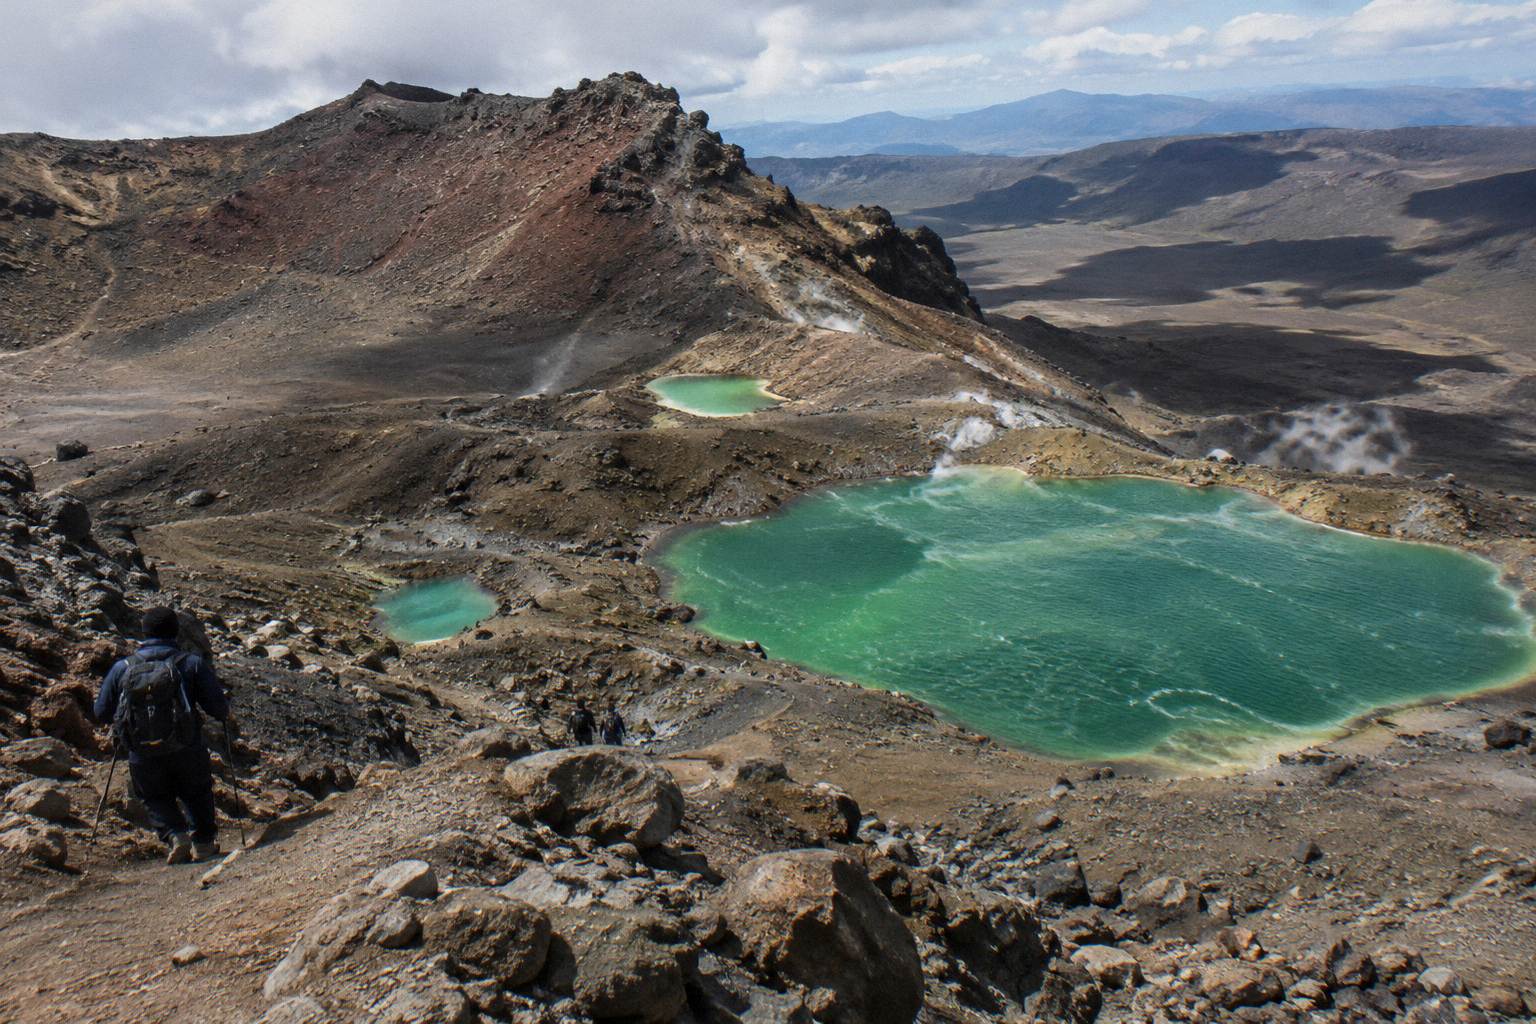
The Emerald Lakes sit just past the halfway high point of the Tongariro Alpine Crossing, reached by a steep scree descent from Red Crater at 1886 m. Reading the map well means pairing the 20.2 km one-way track with the transport waiting at each road end.
Short answer
The Tongariro Alpine Crossing runs 20.2 km one way from Mangatepopo to Ketetahi Road, with 1196 m of elevation change and a high point of 1886 m at Red Crater. The Emerald Lakes sit immediately below Red Crater on the eastern side of the track, roughly two thirds of the way through the walk in distance terms.
The Tongariro Alpine Crossing is a 20.2 km one-way track, and every study of its map comes down to one asymmetry: you finish at a different road end from the one you start at. The Department of Conservation (DOC) records an elevation change of plus and minus 1196 m, a high point of 1886 m at Red Crater, and walking times of 7 to 8 hours from November to April and 9 hours from May to October. The Emerald Lakes, the vivid green pools that give this site its name, sit directly below Red Crater, reached by what DOC describes as a steep scree descent. This guide reads the map stage by stage, then matches each end of the track to the shuttles and guided tours that serve it, including the Tongariro Crossing Shuttles round-trip from National Park Village, the Ruapehu Scenic Shuttles Ketetahi park-and-ride, and the Adrift Tongariro premium guided hike.
What Does The Official Track Layout Actually Look Like?
The official route is a one-way 20.2 km line across the volcanic heart of Tongariro National Park, running from the Mangatepopo road end in the west to the Ketetahi road end in the north east. Along the way it crosses two craters, climbs over Red Crater at 1886 m, and passes the Emerald Lakes on the descent.
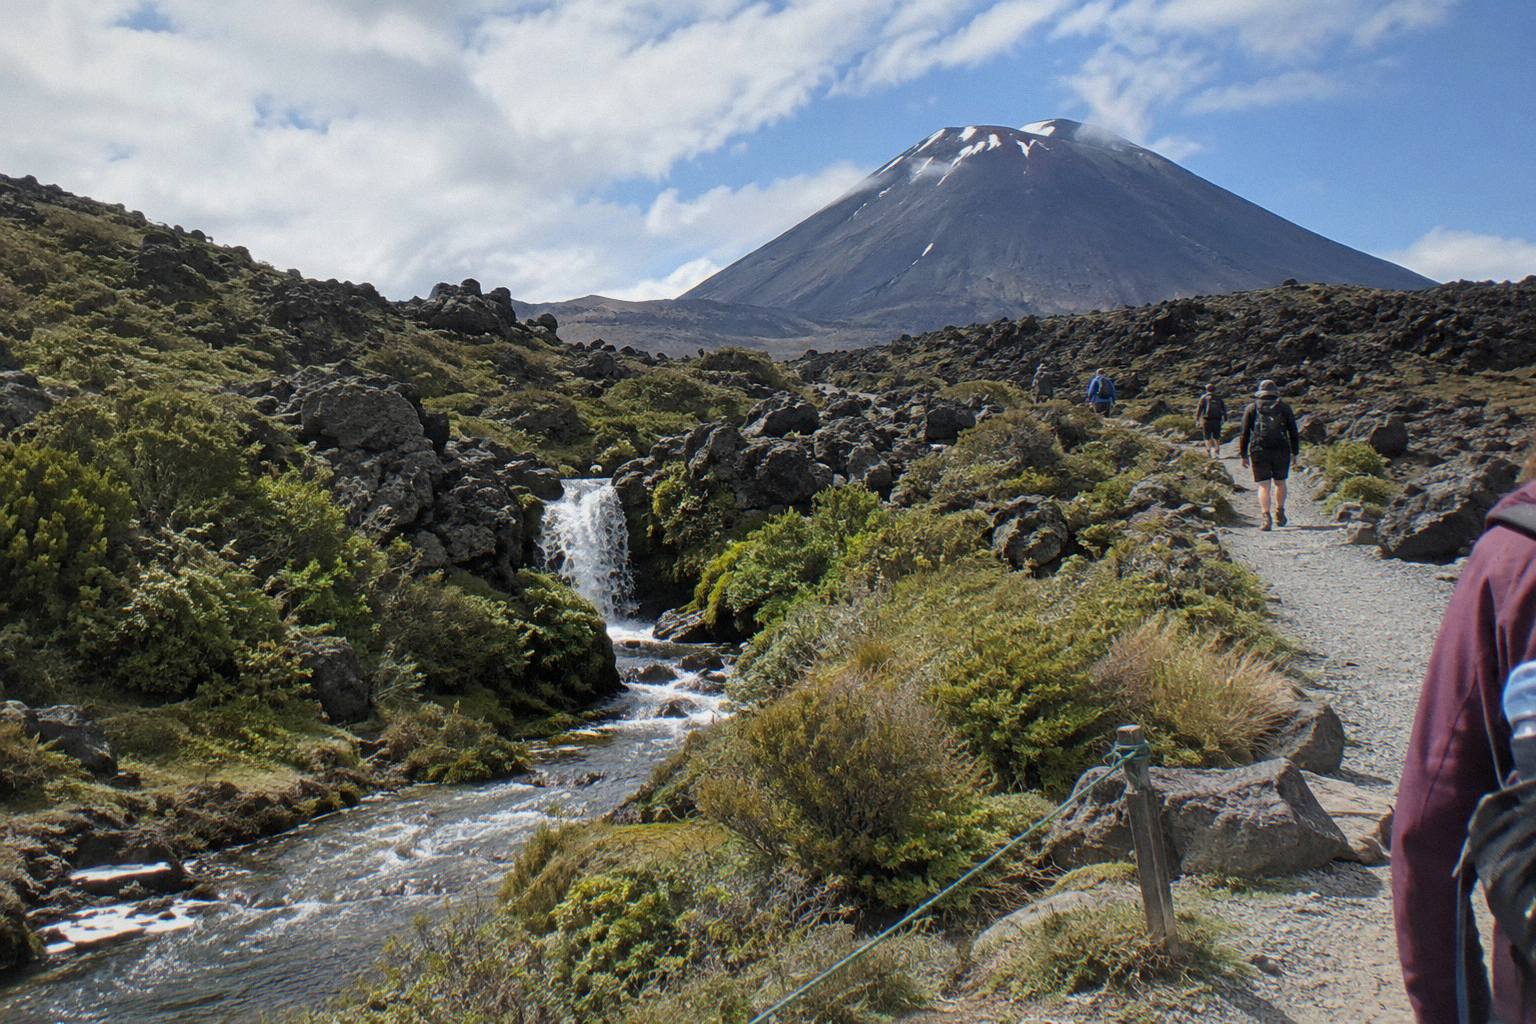
The park itself is a dual World Heritage area and New Zealand's oldest national park, established in 1894, with mountains sacred to Ngati Hikairo ki Tongariro of Ngati Tuwharetoa. The Crossing's route sits between Mount Ngauruhoe, which many visitors nickname Mount Doom for its Mordor look, and the older massif of Mount Tongariro. On a map, the track bends around the northern skirt of Ngauruhoe, uses the flat expanse of South Crater as a corridor, then tops out on the rim of Red Crater before dropping to the lakes. The official DOC track page carries the distances, elevations and seasonal grading quoted here, and it is the page to check before any walk, because volcanic alert levels change daily and track conditions follow the weather.
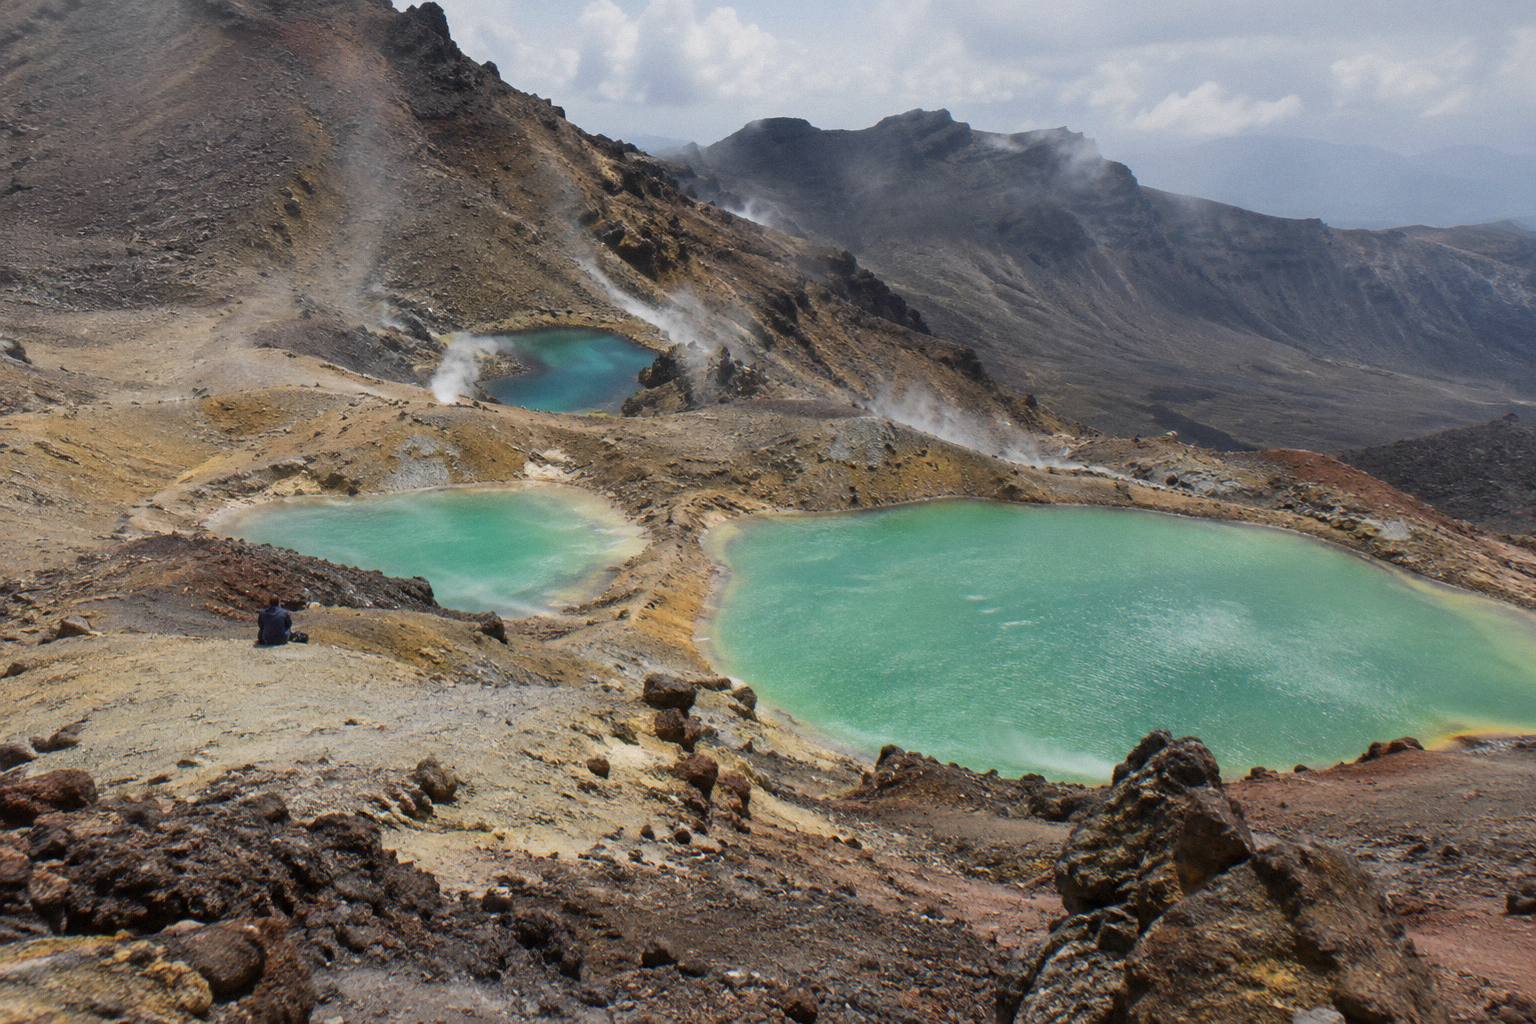
Two features of the layout surprise people who have only seen photographs. First, the Emerald Lakes are not a side trip: the track runs right past them, and the Blue Lake, a short distance further on, is also directly on the route. Second, the walk is not a ridge walk but a descent-heavy finish. From Red Crater the map drops through the lakes, across Central Crater, past the Blue Lake and then down a long, knee-testing descent through tussock and forest to the Ketetahi road end near Turangi, at roughly 760 m elevation. The stage-by-stage detail in how the distance and elevation stack up breaks those numbers into segments if you want them plotted against the map.
| Map feature | Where it sits | What the map shows |
|---|---|---|
| Mangatepopo road end | Western start, 1120 m | Track start, summer parking limits |
| Devil's Staircase | About a third of the way along | Steep stepped climb to the crater saddle |
| South Crater | Flat corridor before the big climb | Wide plain between Ngauruhoe and Red Crater |
| Red Crater | High point, 1886 m | Rim crossing, exposure on either side |
| Emerald Lakes | Immediately east of Red Crater | Steep scree descent to the lake shore |
| Ketetahi road end | Northern finish, about 760 m | Long descent, shuttle pick-up area |
Which Direction Does The Map Run, And Why Does It Matter?
Almost every walker, shuttle and guided tour runs the map west to north east, starting at Mangatepopo and finishing at Ketetahi Road. The direction matters because the climb to Red Crater is shorter and steeper from the Mangatepopo side, while the long descent, the Emerald Lakes section and the easiest exit all fall on the Ketetahi half, and in summer the 4 hour parking maximum at the road ends makes a one-way walk with transport the practical choice.
Running the track the other way means climbing the steep scree you would otherwise descend, gaining the lakes only after the hardest ascent of the day, and finishing at Mangatepopo, where DOC says there is no parking for Crossing walkers in summer at all. The one-way logic is why shuttle products exist in two shapes. A return or round-trip shuttle, such as the Tongariro Crossing Shuttles round-trip from National Park Village (from NZ$75 per person, rated 4.7 across 890 reviews, free cancellation up to 24 hours before), drops you at Mangatepopo in the morning and collects you at Ketetahi in the afternoon. A one-way park-and-ride works in reverse on the map: you leave your car at the Ketetahi end, ride to Mangatepopo, and walk back to your own vehicle, which is exactly how the Ruapehu Scenic Shuttles Ketetahi park-and-ride (from NZ$68 per person, rated 4.8 across 670 reviews) and the Owhango Adventures Ketetahi park-and-ride are built.
Direction also interacts with the sun and with the classic photographs. Walking Mangatepopo to Ketetahi puts the morning sun behind you on the climb and lights the Emerald Lakes from in front as you descend to them around midday for most parties, which is one reason an early start is standard advice. The section on sunrise starts on the Crossing covers that timing in detail. Winter reverses some of the logic, but the direction does not change: from May to October DOC grades the route Expert, with snow, ice and avalanche risk, and says a guide is best.
Booking the walking day itself is free and recommended through the DOC booking system, which you complete on the DOC booking page before you travel; the booking also feeds the shuttle and guided capacity that matches the map's two road ends.
How Do The Distances And Elevations Stack Up On The Map?
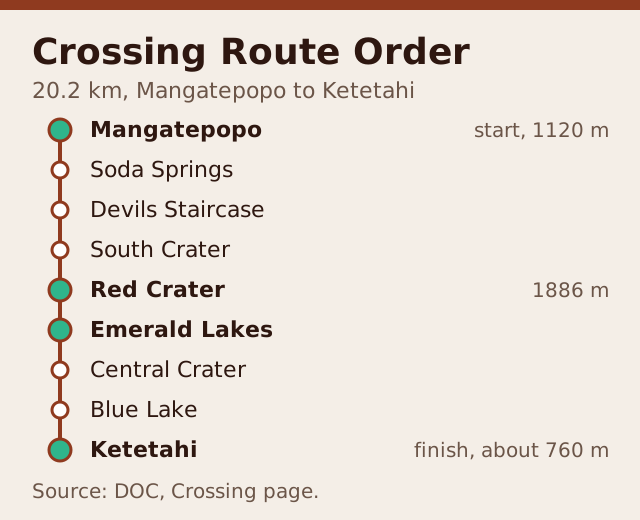
DOC's figures for the whole map are 20.2 km one way, an elevation change of plus and minus 1196 m, a start at 1120 m at Mangatepopo, a high point of 1886 m at Red Crater and a finish around 760 m at Ketetahi Road. The Emerald Lakes sit below the 1886 m rim, so by the time you reach them you have completed the day's climbing and face mostly descending terrain to the finish.
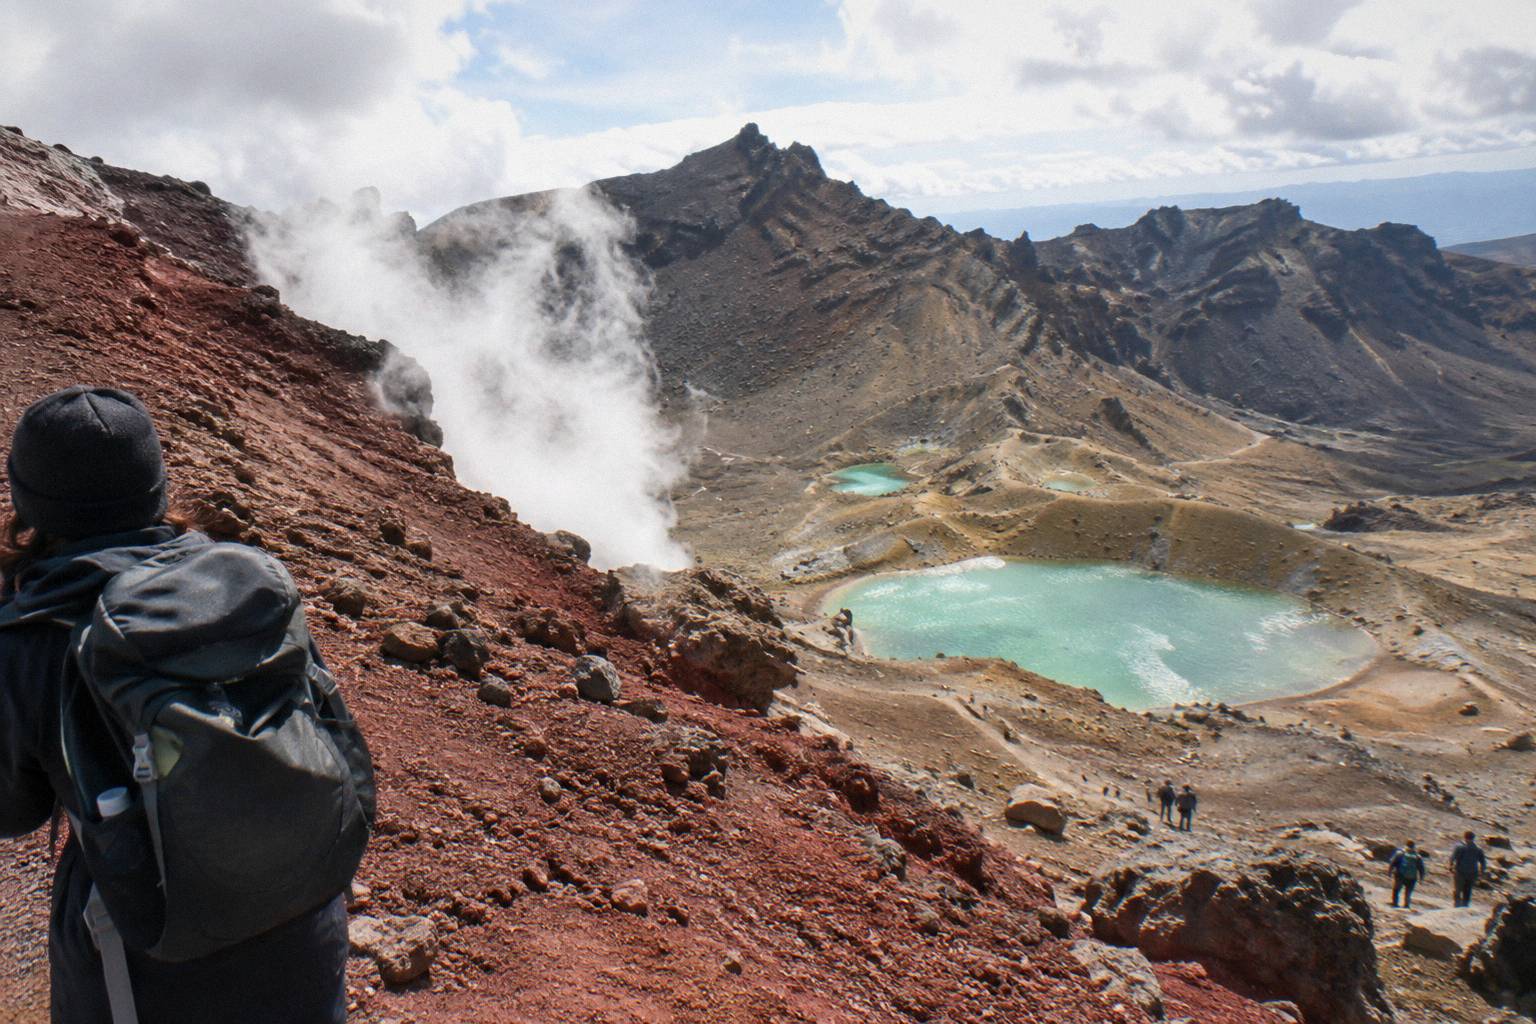
Time on the map is DOC's band, not an operator's: 7 to 8 hours of walking from November to April, and 9 hours from May to October. The booked duration on any tour or shuttle page, such as 8 to 9 hours on the Adrift Tongariro premium guided hike, is the total day or transfer length and includes transport and stops, so do not read it as walking time. The infographic below plots the main elevations against the map so you can see where the effort concentrates: the Devil's Staircase early, the South Crater respite, the push to Red Crater, then the lakes and the long run down.
| Segment on the map | Character | What to expect |
|---|---|---|
| Mangatepopo to the Soda Springs | Gentle valley track, boardwalk sections | Warm-up on the flat, first lava fields |
| Devil's Staircase | Steep stepped climb | The steepest sustained climb before South Crater |
| South Crater crossing | Flat, exposed plain | Recovery leg with big views of Ngauruhoe |
| Climb to Red Crater | Steep, loose in places | The push to the 1886 m high point |
| Red Crater to the Emerald Lakes | Steep scree descent | The lakes arrive fast, mind your footing |
| Lakes to Blue Lake and Ketetahi | Rolling then long descent | Central Crater, tussock slopes, forest finish |
The relative distances of the surrounding towns help when you place the map in the region. DOC lists Whakapapa 10.4 km from the track, National Park 13.5 km, Turangi 36.7 km, Ohakune 48 km and Taupo 86.5 km. Auckland is a long way north, and the practical way to fold it into a Crossing day is a two-day private transfer or a three-day tour with the Crossing as one self-guided leg, both of which exist on the operator side. If you want the lakes themselves mapped minute by minute, the walk time to the Emerald Lakes carries the segment timing.
Choosing between the two shuttle shapes on the map is simple once you know where you will sleep the night before. If you stay in National Park Village, a round-trip keeps the whole day in one booking; the same logic holds from Taupo or Turangi with the Tongariro Expeditions Crossing shuttle from Taupo or Turangi (from NZ$75 per person, rated 4.7 across 431 reviews, free cancellation up to 24 hours before), which runs transfer options matched to both towns.
Which Road End Matches Which Shuttle On The Map?
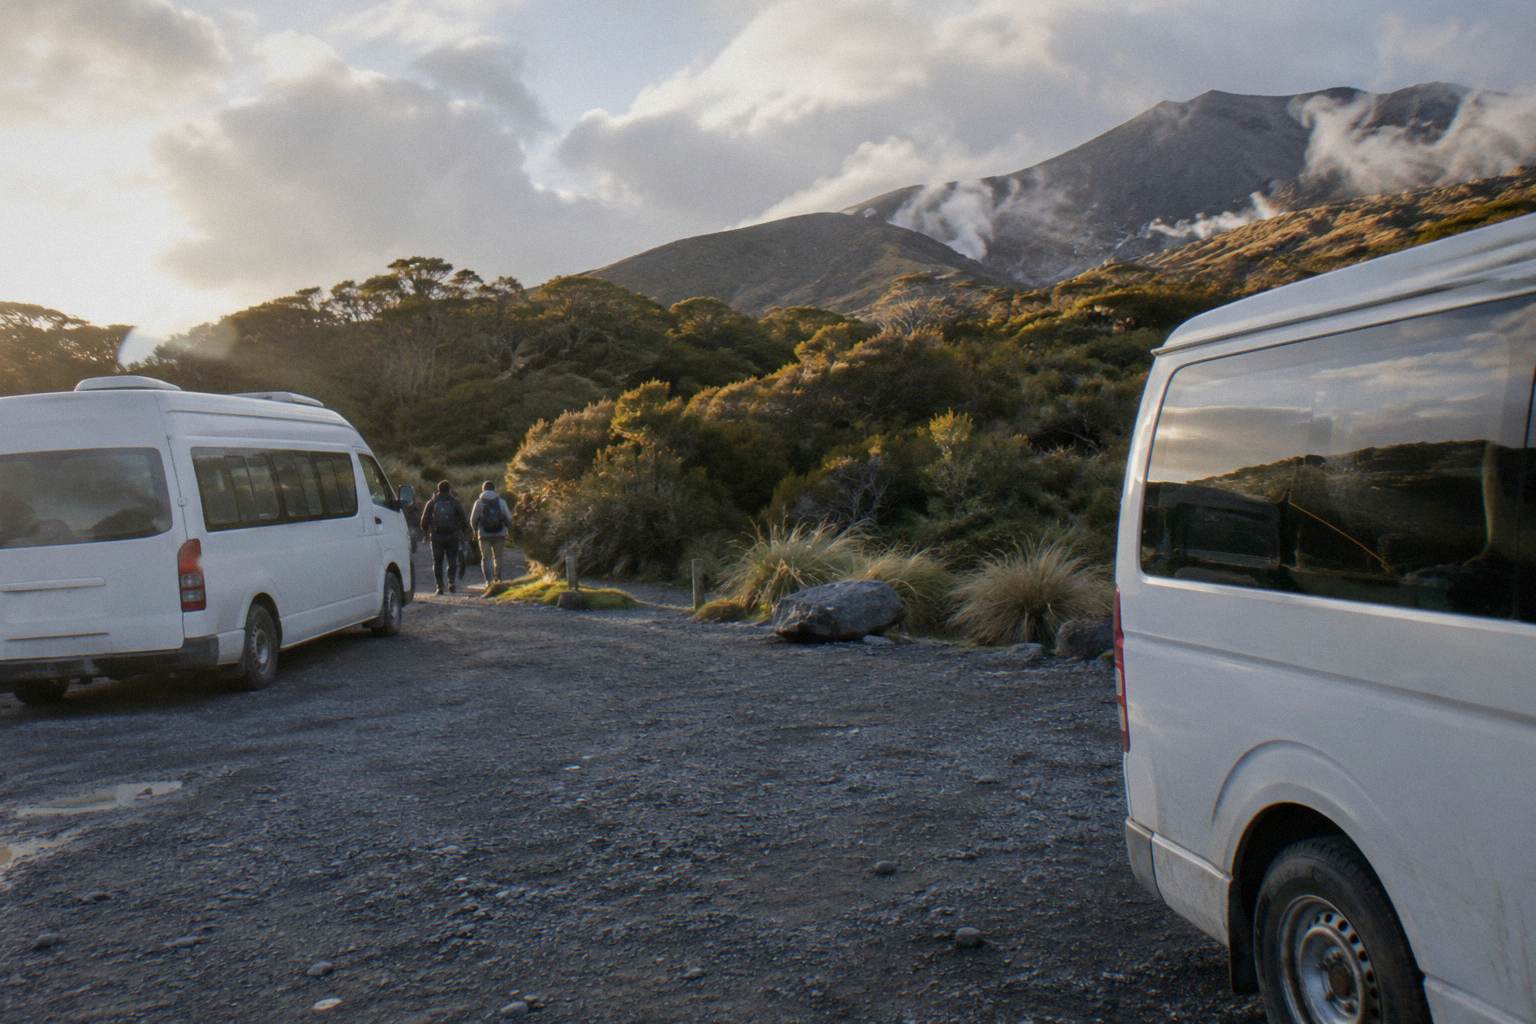
The map has two road ends and six departure points across the tours and shuttles serving them. Mangatepopo is the walk's start and Ketetahi Road the finish, but shuttles themselves depart from National Park Village, Ketetahi car park, Taupo, Turangi, Ohakune and Auckland, so the first planning job is matching where you sleep to which end of the map your product serves.
| Product | Shape | Departure point | Notes |
|---|---|---|---|
| Tongariro Crossing Shuttles round-trip | Return shuttle, self-guided walk | National Park Village (59 Findlay Street) | From NZ$75, rated 4.7 from 890 reviews |
| Ruapehu Scenic Shuttles Ketetahi park-and-ride | One-way shuttle, park at Ketetahi | Ketetahi car park (Otukou) | From NZ$68, rated 4.8 from 670 reviews |
| Dempsey Buses return bus from National Park Village | Return shuttle | National Park Village hotels and Park n Ride | From NZ$90, rated 4.8 from 72 reviews |
| Tongariro Expeditions shuttle from Taupo or Turangi | Transfer options to the track | Taupo, Turangi or Ketetahi Park & Ride | From NZ$75, rated 4.7 from 431 reviews |
| Tongariro Expeditions Ketetahi park-and-ride | One-way shuttle | Ketetahi Park & Ride (Otukou) | Rated 4.3 from 106 reviews, price on the booking page |
| Adrift Tongariro premium guided hike | Guided full Crossing with transport | National Park Village (53 Carroll Street) | From NZ$450, rated 4.6 from 242 reviews |
Read the one-way park-and-ride rows carefully on the map: they include no return transport. You drive to the Ketetahi end, ride the shuttle to Mangatepopo, walk the Crossing back to your car, and drive away. That is the design behind the Ruapehu Scenic Shuttles product, the Owhango Adventures Ketetahi park-and-ride (rated 4.8 across 333 reviews) and the Tongariro Expeditions Ketetahi park-and-ride (rated 4.3 across 106 reviews), all with free cancellation up to 24 hours before. Round-trip products instead base you at a village or town: the Dempsey Buses return bus from National Park Village (from NZ$90 per person, rated 4.8 across 72 reviews) collects from the Park Hotel Ruapehu, the Tongariro Crossing Lodge and the Park n Ride, and the Dempsey Buses return shuttle from Ohakune, on the southern side of Mount Ruapehu, runs from NZ$110 per person. The rest of the planning pages sit on Tongariro Emerald Lakes Hike.
One further map-level caution from DOC: shuttle buses generally do not operate through winter, May to late October, while guided trips include transport. So a winter map is really a guided map, which is the moment the Adrift Tongariro products come forward. The premium guided hike (from NZ$450 per person, free cancellation up to 14 days before, crampons and ice axes supplied if winter conditions require them, bring your own lunch) and the Adrift Tongariro private guided Crossing (rated 4.5 across 30 reviews) both include the transport legs inside the day. Whether a guide is worth it for the lakes section weighs that choice against the shuttle-only path.
A round-trip from National Park Village answers the map's central question, both road ends covered in one booking, and free cancellation up to 24 hours before keeps the plan flexible if the forecast turns. The booking page shows the current departure terms.
What Should You Mark On The Map Before You Walk?
Mark five things: the Mangatepopo start at 1120 m, the Devil's Staircase, the Red Crater rim at 1886 m, the Emerald Lakes immediately below it on the eastern descent, and the Ketetahi road end finish near 760 m. Mark the same points on a paper map or a downloaded offline map, because the alpine section has no cell coverage for most of its length and the weather can close in fast above South Crater.
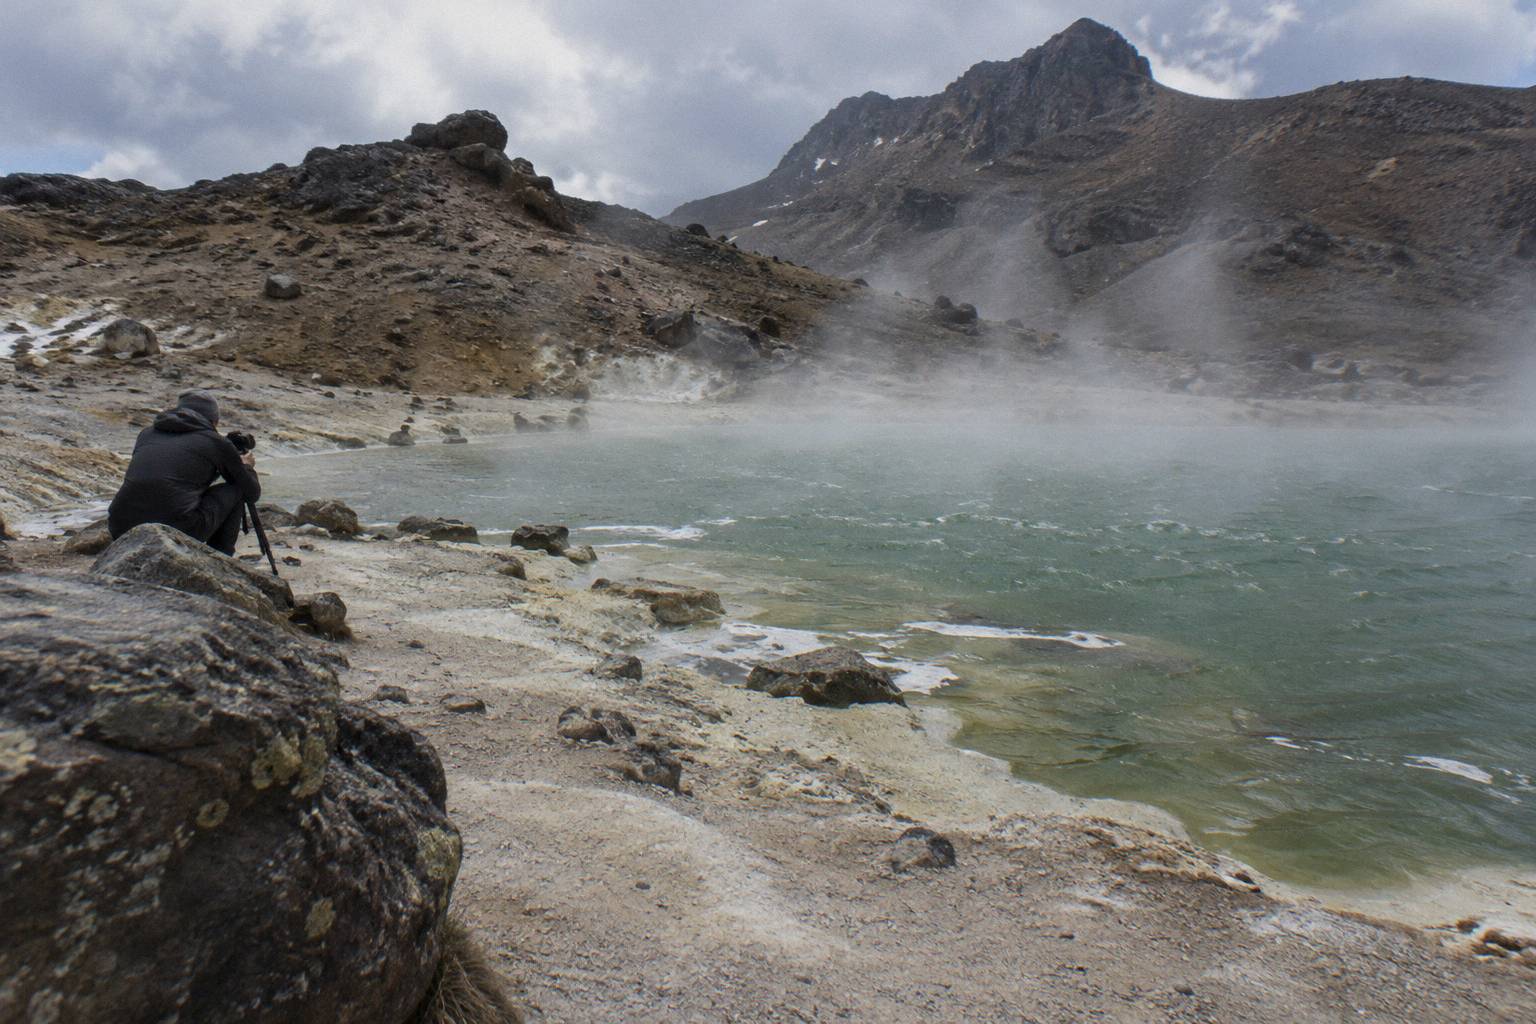
Offline mapping matters more here than on most day walks. The high section between the South Crater and the Blue Lake is exposed, the 2012 Te Maari eruption on the northern slopes is a reminder that this is an active volcanic landscape, and DOC's volcanic risk page explains what the hazard zones mean. Alerts and track notices live on the DOC Tongariro pages, GeoNet publishes the volcanic alert levels that change daily, and NIWA's Red Crater forecast plus the MetService mountain forecast and avalanche.net.nz cover the alpine weather picture. None of those are printable as a live status in an article, which is precisely why you check them on the morning.
Mark the cultural request too. Kaumatua Te Ngaehe Wanikau asks visitors to respect the maunga tapu by not touching or entering any of the waterways, including the alpine lakes, so the map stop at the Emerald Lakes is a look-and-photograph stop, not a swim. The reasoning and the tapu behind it are covered in swimming in the Emerald Lakes. For photographers planning the light, photographing the Emerald Lakes maps the angles from the descent and from the far shore path.
| What to mark | Why it matters on the day |
|---|---|
| Devil's Staircase position | Sets expectations for the hardest climb early on |
| Red Crater rim, 1886 m | The high point; weather often decides the turnaround here |
| Emerald Lakes descent | Steep scree, slow going, the day's highlight below it |
| Blue Lake | Second lake on the route, also not to be entered |
| Ketetahi descent | Longest downhill, plan food and water for it |
| Shuttle pick-up point | Match it to your product's stated end point |
If the high section is out of condition, DOC points to Taranaki Falls and Tama Lakes as alternative walks, both reachable from the Whakapapa side of the park. The guide to other hikes when the Crossing closes maps those options.
What Mistakes Do People Make Reading The Crossing Map?
The three common map mistakes are assuming the track is a loop, underestimating the final descent to Ketetahi Road, and planning a summer day around parking at either road end. The Crossing is strictly one way between two different roads, the last third of the map is almost all downhill on tired legs, and from Labour weekend in late October to 30 April DOC restricts parking at the road ends to a 4 hour maximum and suggests booking a shuttle.
The loop assumption catches self-drivers every summer. There is no way to walk the Crossing and return to your start on foot the same day, so a self-drive plan needs either the park-and-ride shape described above or two cars, and the summer parking limit rules out leaving a vehicle at Mangatepopo for the day anyway. DOC also notes a private car park near Ketetahi for Crossing walkers, and several one-way shuttle products bundle parking with the ride; the terms are per operator, so read the booking page for the product you choose.
The second mistake is treating the Emerald Lakes as the finish line. On the map they sit roughly two thirds of the distance along, but the remaining third includes the Central Crater crossing, the Blue Lake, sidesteps around the Te Maari steaming ground and a descent measured in hours, not minutes. Walkers who budget everything to the lakes and nothing after them are the ones caught out by afternoon weather changes and by shuttles with fixed afternoon pick-ups. Budget food, water and clothing for the whole 20.2 km, and treat the lakes as the halfway morale point rather than the end.
The third mistake is reading operator day lengths as walking time. A booked duration of 8 to 9 hours on a guided page or 30 to 40 minutes on a shuttle leg describes the product, not the track; DOC's own bands, 7 to 8 hours November to April and 9 hours May to October, are the walking numbers. What to carry follows from that arithmetic: what to wear hiking to the Emerald Lakes and the fitness guide to the climb to the lakes cover the preparation side of the map.
How Does Winter Change The Map From May To October?
From May to October the same 20.2 km map becomes an Expert route: DOC records snow, ice, avalanche risk and sub-zero temperatures, recommends a guide, and notes that shuttle buses generally do not operate through winter while guided trips include transport. Winter daylight across the period runs 9 to 11 hours, and the alpine section between South Crater and the Blue Lake is where the conditions concentrate.
Winter maps need route-finding marks that summer maps do not: the scree descent from Red Crater to the Emerald Lakes can hold snow well into spring, and the track's line across South Crater can be wind-scoured and hard to follow in poor visibility. DOC's winter essentials for independent trips are crampons, an ice axe, a helmet, avalanche gear and the competency to use all of it; among the tours here, crampons and ice axes are stated as supplied, if winter conditions require them, on the three Adrift Tongariro guided tours, which also carry a clothing and footwear allowance. Bring your own lunch on those days, since it is not included.
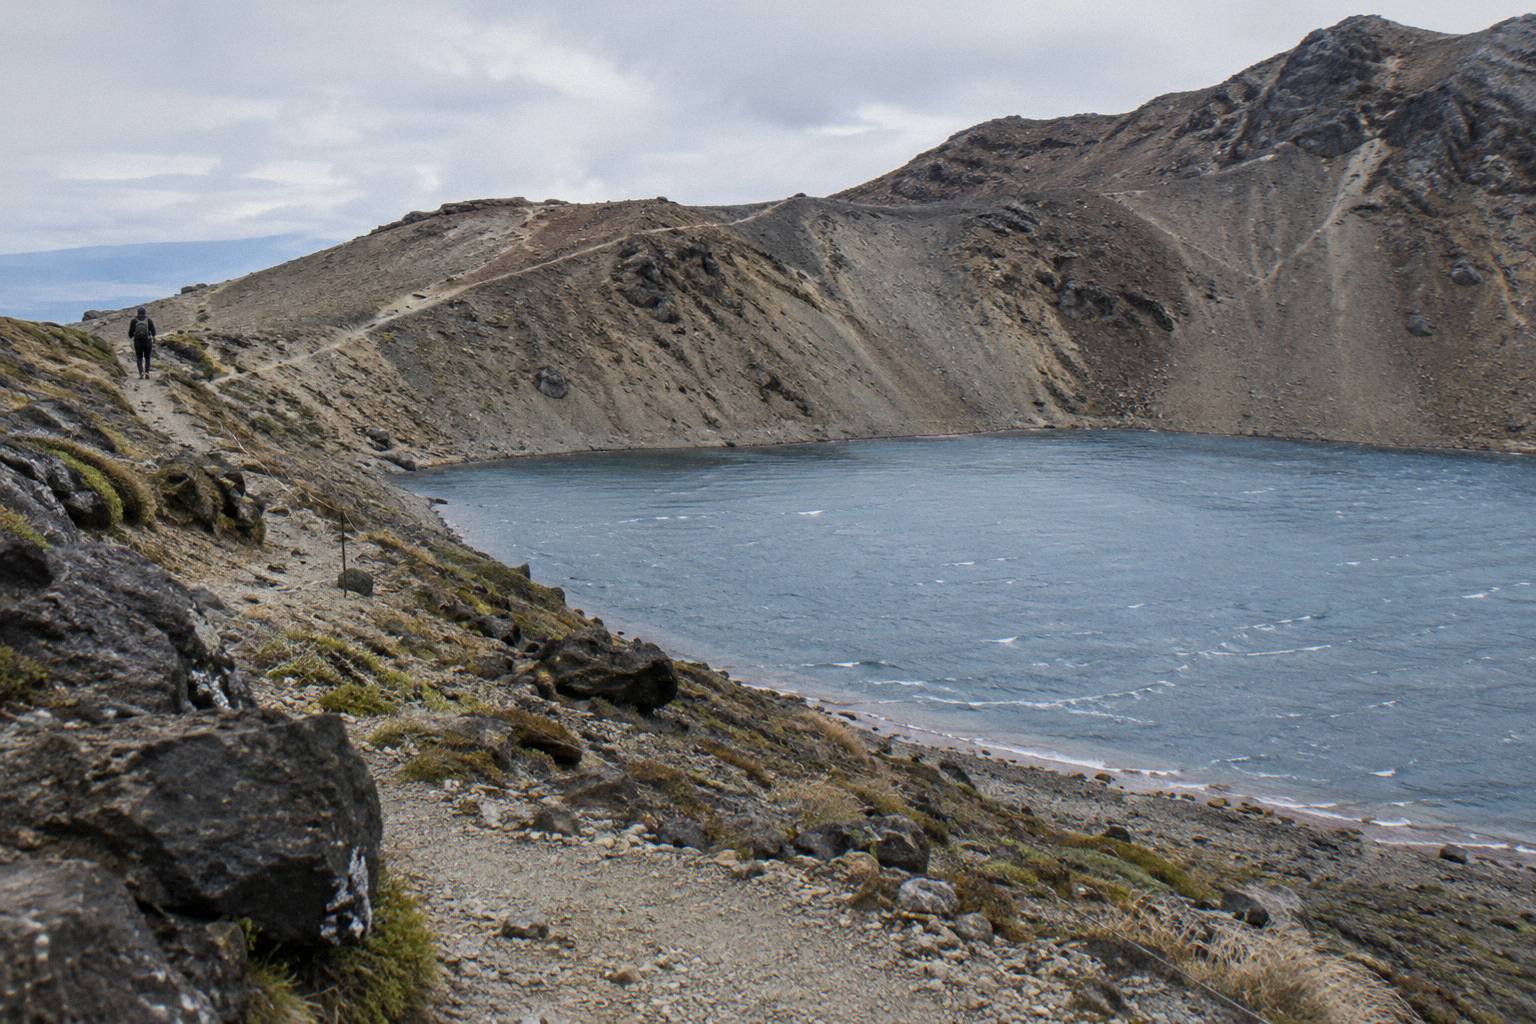
The practical winter choice on the map is therefore guided. The Adrift Tongariro premium guided hike (from NZ$450 per person, rated 4.6 across 242 reviews) and the Adrift Tongariro private guided Crossing (rated 4.5 across 30 reviews) both run from National Park Village with transport inside the day (check the booking page for age limits), and the private tour is non-refundable, so check the cancellation terms before you commit. Shuttle-based self-guided plans, the cheaper summer default from NZ$68 for the Ruapehu Scenic Shuttles park-and-ride, are effectively a summer product. The full picture is in winter on the Crossing.
| Season on the map | DOC walking time | Track character | Transport picture |
|---|---|---|---|
| November to April | 7 to 8 hours | Intermediate tramping track | Shuttles and guided trips both run |
| May to October | 9 hours | Expert route, alpine skills essential | Guided trips include transport; shuttles generally do not run |
Planning The Whole Map At Once
A Crossing plan that honours the map answers four questions in order: where you sleep the night before, which road end that puts you nearest, which product shape fits, whether return shuttle, one-way park-and-ride, or guided with transport, and what the forecast allows. Get those four right and the 20.2 km looks after itself, because the track between the road ends is well formed, well marked in summer, and walked by thousands each season.
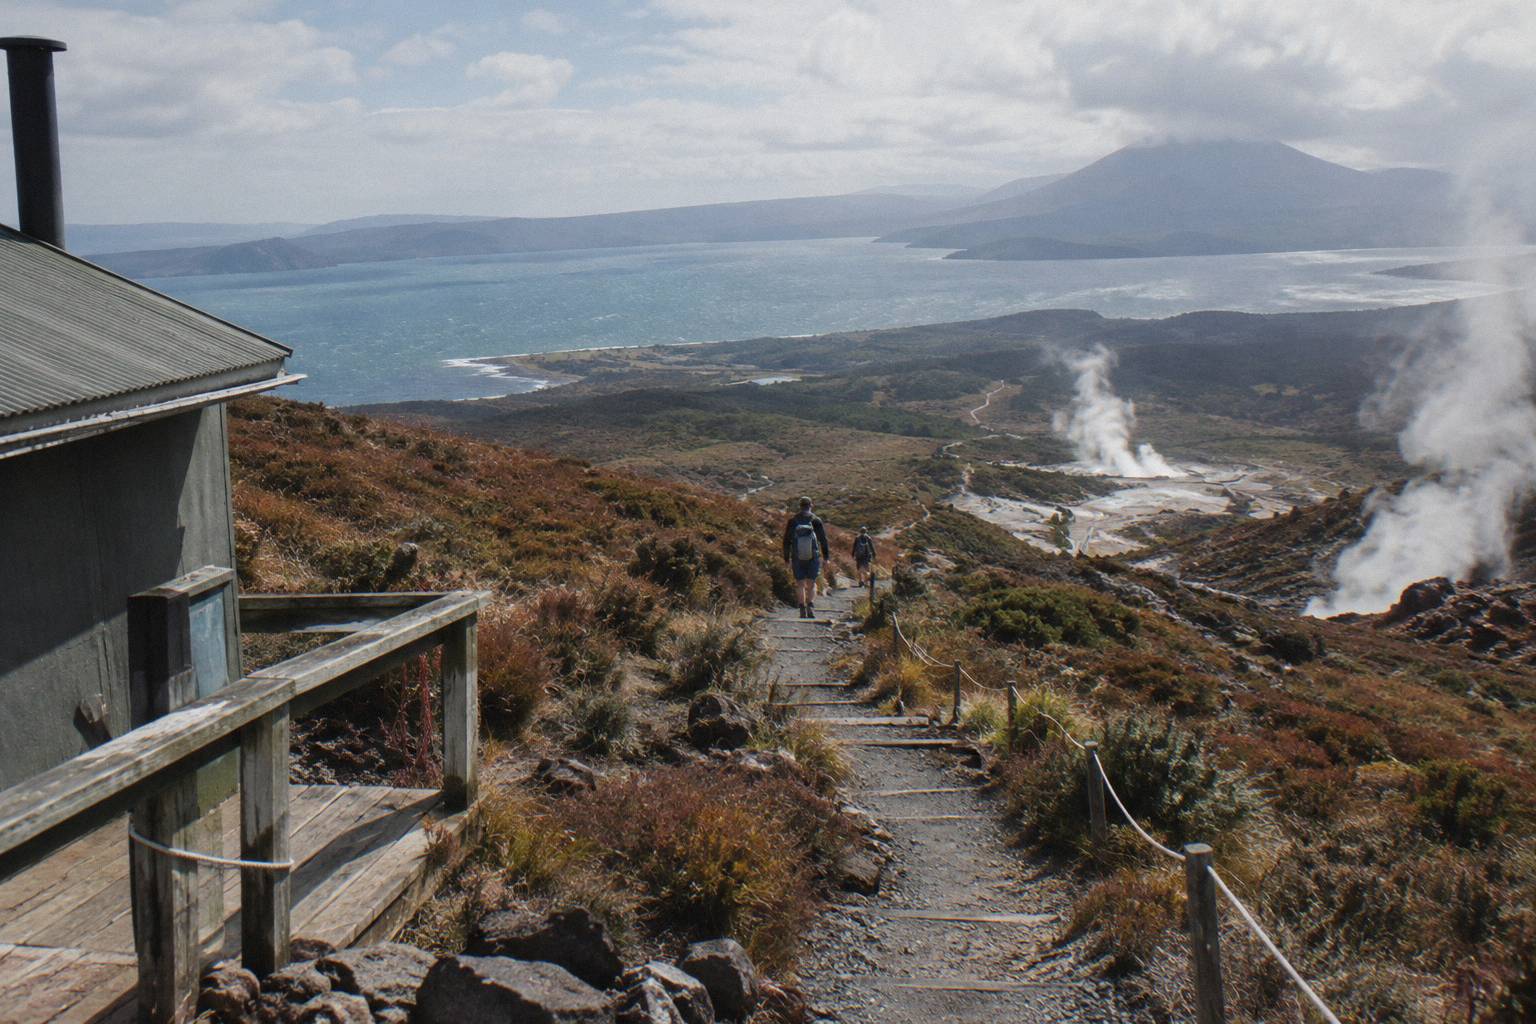
For village-based walkers the round-trip products are the natural fit, and the Tongariro Crossing Shuttles round-trip from National Park Village is the most reviewed tour here, rated 4.7 across 890 reviews, from NZ$75 per person with free cancellation up to 24 hours before. Turangi-based walkers have the Tongariro Expeditions transfer options and the Backyard Tours mountain shuttle from Turangi (from NZ$120 per person, free cancellation up to 24 hours before). Taupo walkers can use the same Tongariro Expeditions transfer network or the Tongariro Expeditions Taupo return shuttle, with the price on the booking page. Auckland visitors have a long drive south and two products that fold it in: the Kiwi Road Tours private transfer (a transfer, not a guided hike, with the walk self-guided) and the ExperienceKart private three-day tour from Auckland, which pairs the Crossing as one self-guided leg with Huka Falls and Lake Taupo.
Guided walkers get the map read to them in the best sense: the Adrift Tongariro full-day guided Crossing (rated 4.7 across 278 reviews) and the premium guided hike both cover the whole route including the lakes, with the premium tour from NZ$450 per person. Families should note the age rules per tour: 12 minimum on the Adrift premium and private tours, 8 on the National Park Shuttles one-way shuttle, under 6 excluded on both Dempsey Buses products, and DOC separately advises the track is not recommended for children under 10.
However you build the day, the two anchors on the map stay fixed: Mangatepopo in, Ketetahi out, and the Emerald Lakes waiting on the descent below Red Crater, roughly two thirds of the way along a 20.2 km line across one of the world's more remarkable volcanic landscapes.
Common Questions About The Tongariro Crossing Map
Where Are The Emerald Lakes On The Tongariro Crossing Map?
Immediately east of Red Crater, the 1886 m high point, on the steep scree descent toward Central Crater. They sit roughly two thirds of the 20.2 km distance from the Mangatepopo start.
How Long Is The Tongariro Alpine Crossing On The Map?
DOC records 20.2 km one way from Mangatepopo to Ketetahi Road, with an elevation change of plus and minus 1196 m and walking times of 7 to 8 hours November to April, 9 hours May to October.
Can You Park At Both Ends Of The Crossing Map?
Not for the day in summer. From Labour weekend in late October to 30 April a 4 hour maximum applies at the road ends, DOC says there is no summer Crossing parking at Mangatepopo, and DOC suggests booking a shuttle.
Which Direction Should You Walk The Crossing?
Mangatepopo to Ketetahi Road. Nearly all shuttles and guided tours are built around that direction, and it puts the steepest climb earlier and the long descent on the second half of the day.
Does The Map Change In Winter?
The line stays the same but the grade changes: from May to October DOC grades the route Expert, with snow, ice and avalanche risk, and recommends a guide. Shuttle buses generally do not run in winter while guided trips include transport.
Can You Swim In The Emerald Lakes Once You Reach Them On The Map?
No. Kaumatua Te Ngaehe Wanikau asks visitors to respect the maunga tapu by not touching or entering any of the waterways, including the alpine lakes, so treat both lakes as view-and-photograph stops.